
We have been receiving tutorials suggestions and we love that because there are some great ideas for tutorials. This one is exactly that, well not really exactly because since I saw the box of the CS 5 suite I always wanted to try to recreate that in Photoshop, but somehow I had forgotten until I read the email with the suggestion.Photoshop updates
So in this tutorial I will show you how to create a design like the one we see on the Adobe CS 5 Design Premium Box. The tutorial is probably the longest I have ever written, but it's not complicated at all. Actually it's fairly simple and we will be playing with pattern a lot. If you want to create the design of the Photoshop CS 5 box for example, it will be pretty much the same process.Step 1
Open Photoshop and create a new document. I'm using Letter size but with 72 DPI. After that fill the background with black using the Paint Bucket Tool (G).Photoshop updates
Step 2
With the Rectangle Tool (U) create a rectangle using pink/red color (#d43e3e).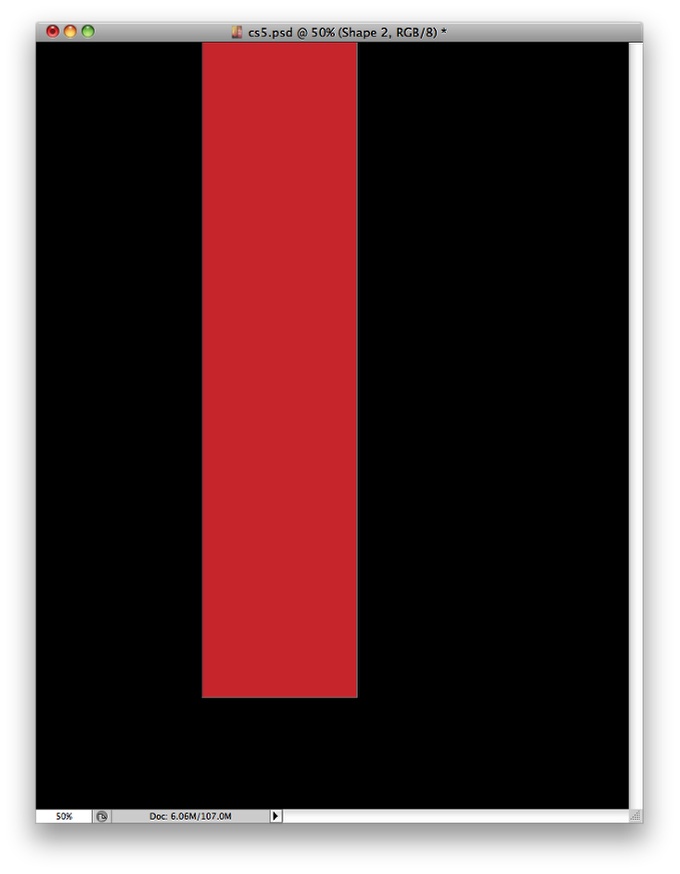
Step 3
Go to Edit>Transform>Distort. Change the V option to 26º.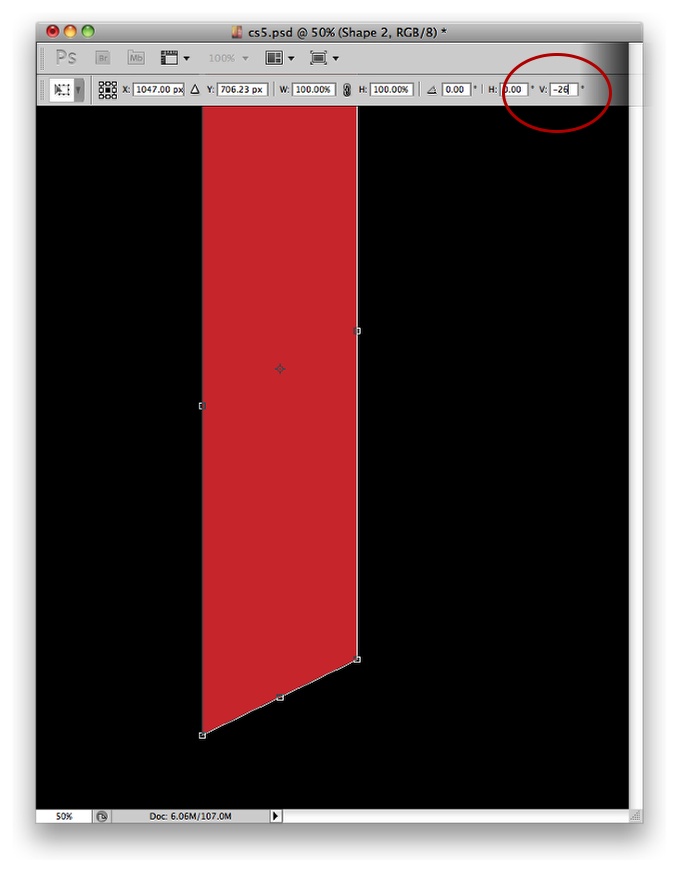
Step 4
Add another rectangle with the Rectangle Tool (U) but use a more orange color (#d44d33). Repeat the same thing to apply a perspective to the rectangle, this time however use -26º for the V option. After that position the 2 rectangles in order to create a box.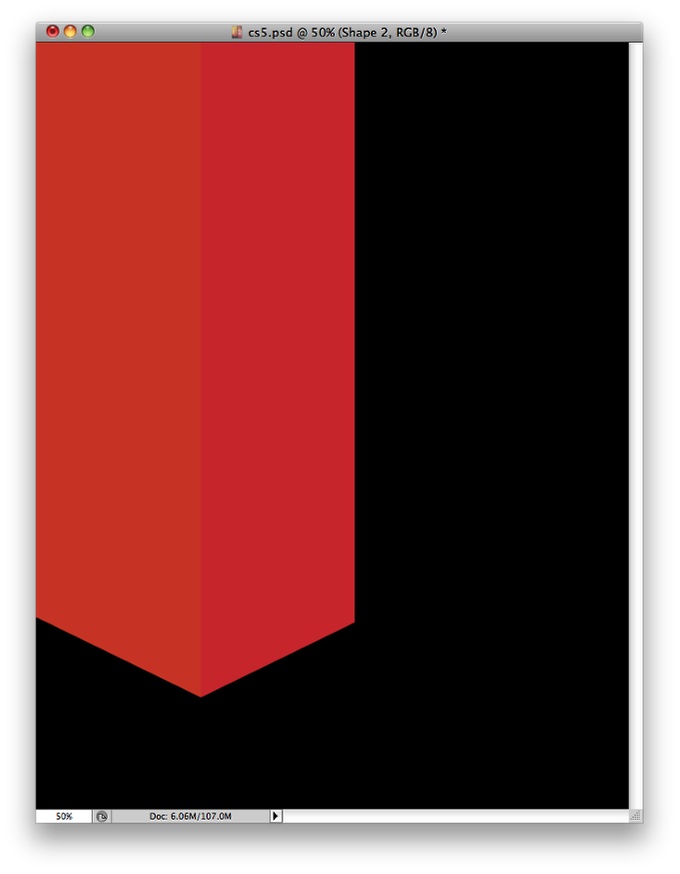
Step 5
Group the 2 rectangles and duplicate the group. Move it to the right and change the orange color the side to pink too. You can merge the groups as well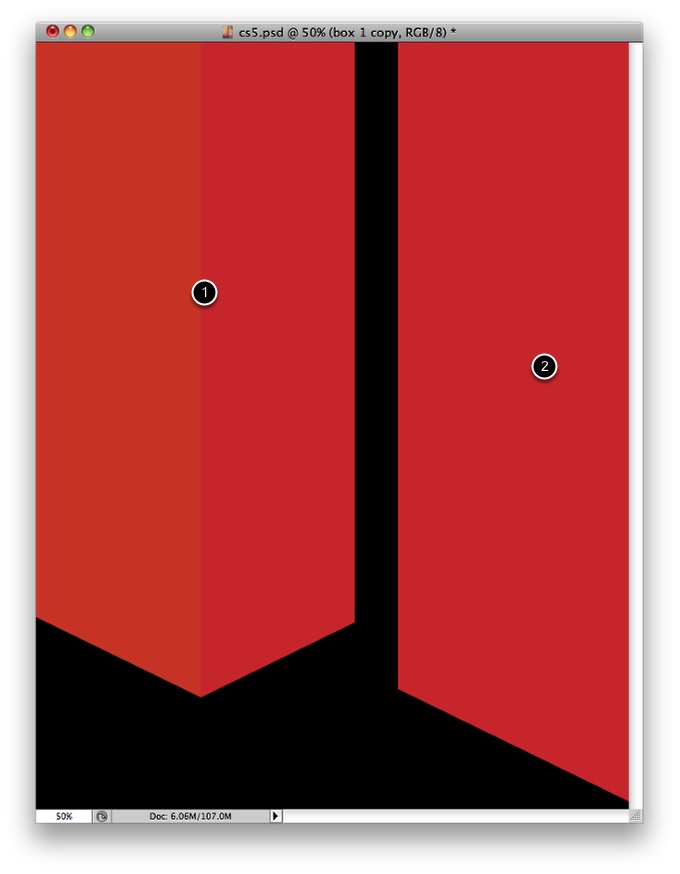
Step 6
Merge the box 1 layers so you will have one layer only. So go to Layer>Layer Style>Gradient Overlay. Use a gradient with (854c23) and (fff600) for the colors, Overlay for the Blend Mode, Linear for the Style and 90º Angle. Also over the Blending Options, change the Fill Opacity to 0.
Step 7
For the box 2 apply a gradient overlay as well but use (852376) and (ffa800) for the colors.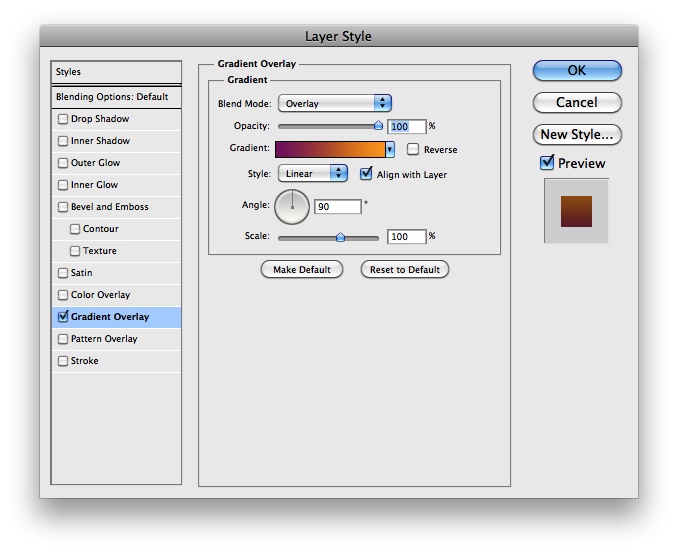
Step 8
This is the result you will have after the Gradient Overlay.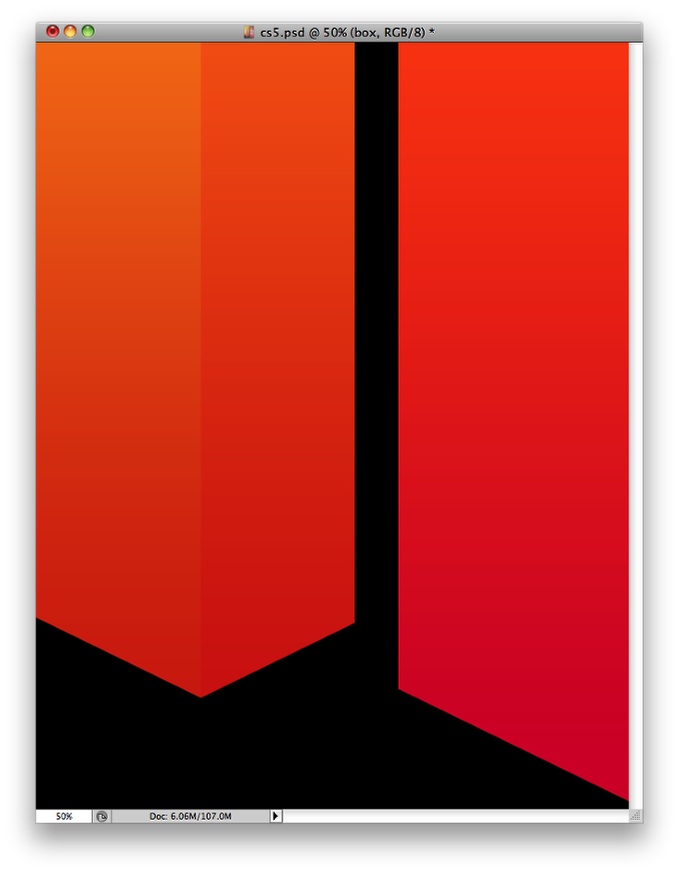
Step 9
Create a new document with 6 pixels for the Width and 100 for the Height. Make sure the background is white and create a black rectangle with half of the width. After that go to Edit>Define Pattern.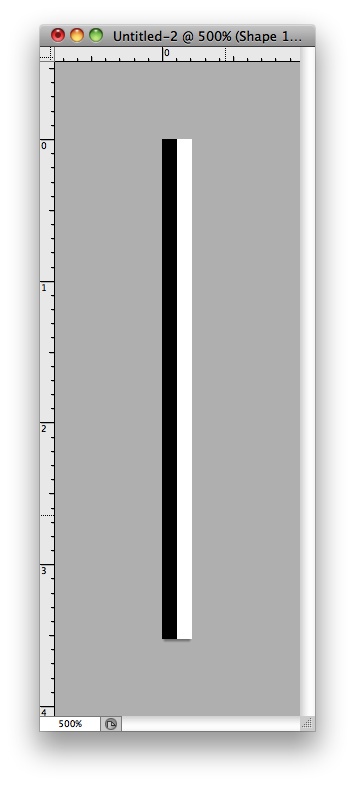
Step 10
Change the name of your Pattern to Vertical Lines. We will use it in our design in the next steps.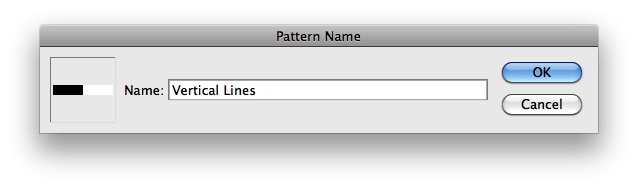
Step 11
With the Rectangle Tool (U) create a rectangle beneath the box 2. After that go to Layer>Layer Style>Blending Options. Change the Fill Opacity to 0. After that select Color Overlay. Use pink for the color (d81437) and Multiply for the Blend Mode, then select Pattern Overlay. Select the Vertical Lines pattern we created in the previous step.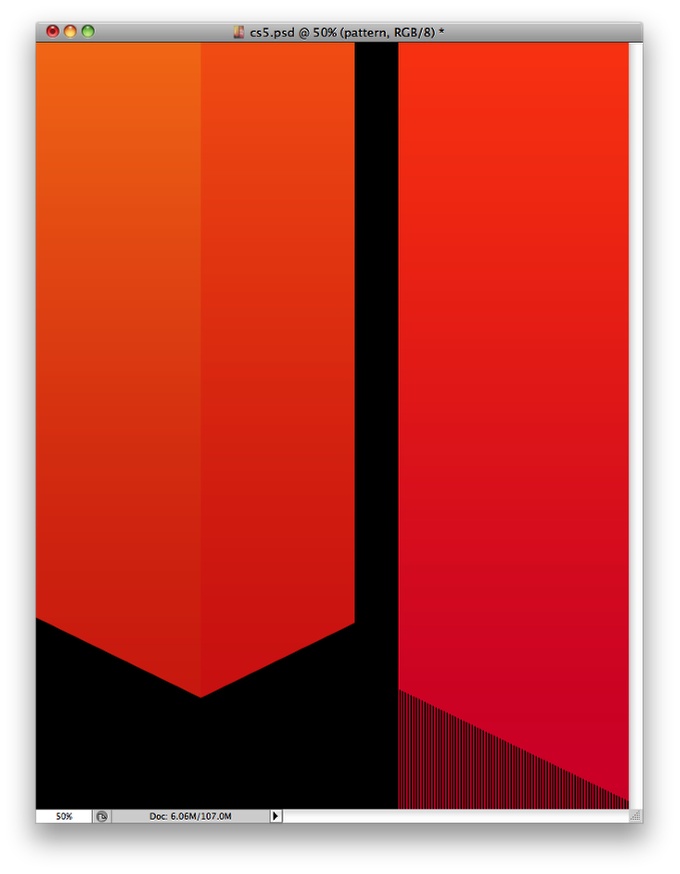
Step 12
Duplicate the box 1 and move it down. Change the Opacity to 50%.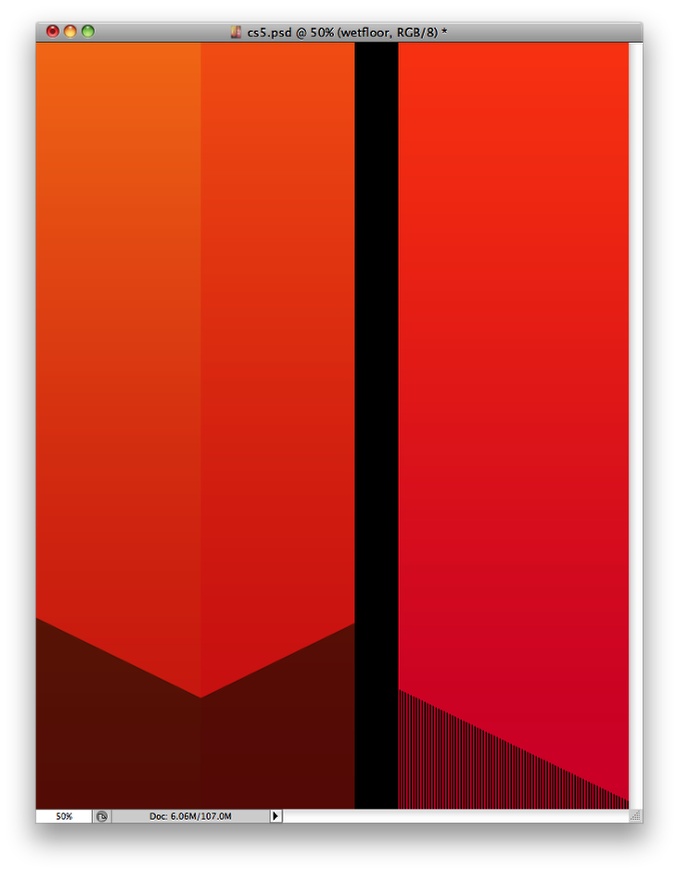
Step 13
Go to Layer>Layer Mask>Reveal All. Then select the Brush Tool (B) and a very soft brush. With black for the color start painting over the mask to hide parts of the layer. The idea here is to create the famous wet floor effect.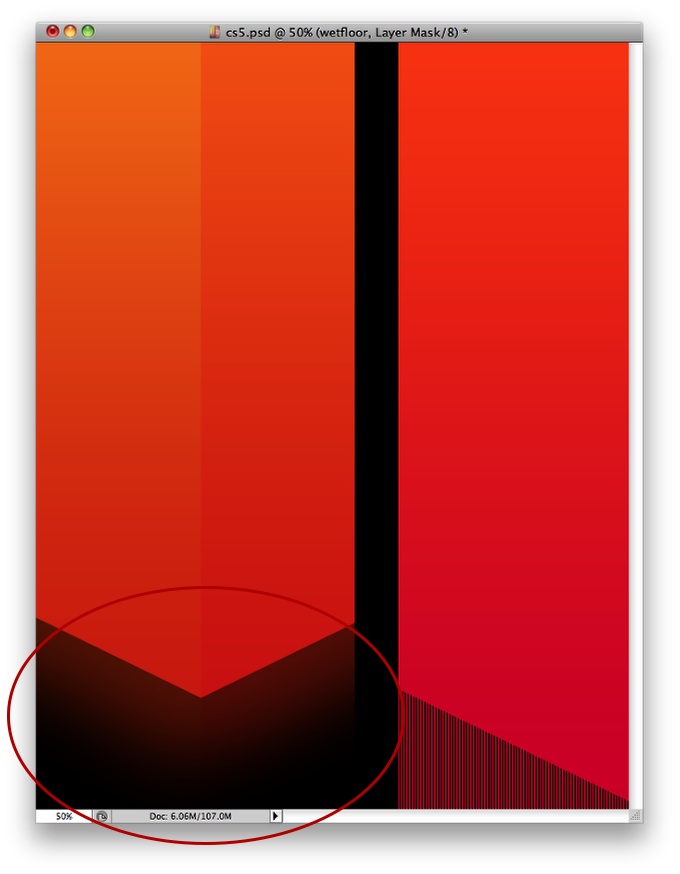
Step 14
With the Rectangular Marquee Tool (M) create selection of one the sides. Add a new layer and fill it with the Vertical Lines pattern. Then change the Blend Mode to Multiply.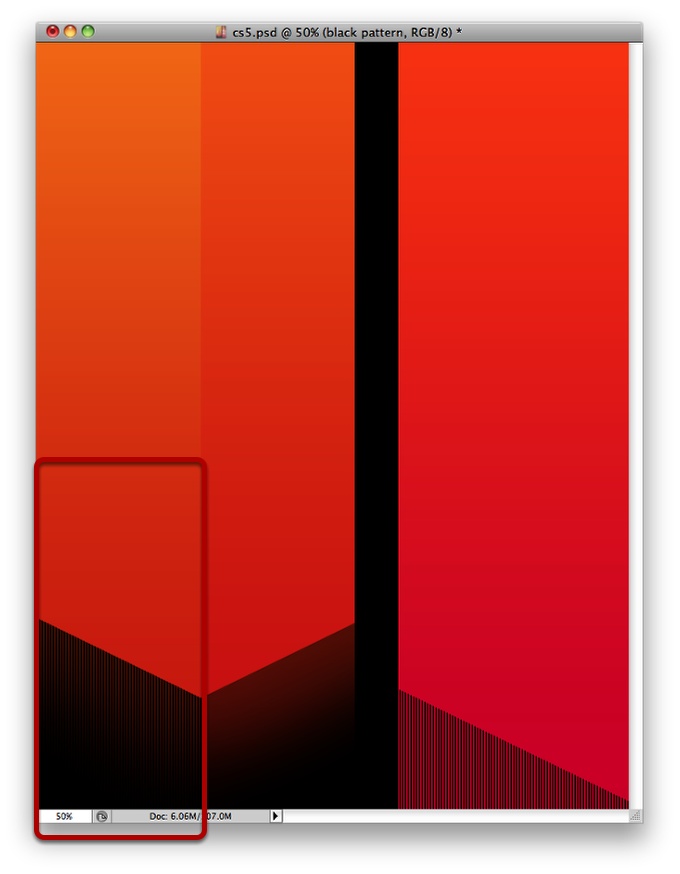
Step 15
Create a selection of the box 1 by clicking on the thumb of the layer holding the Command(mac)/Control(PC) key. Then add a new layer and fill it with the Vertical Lines pattern again. This one will be on top of the box 1. After that go to Filter>Blur>Motion Blur. Use 90º for the angle and 250 for the Distance.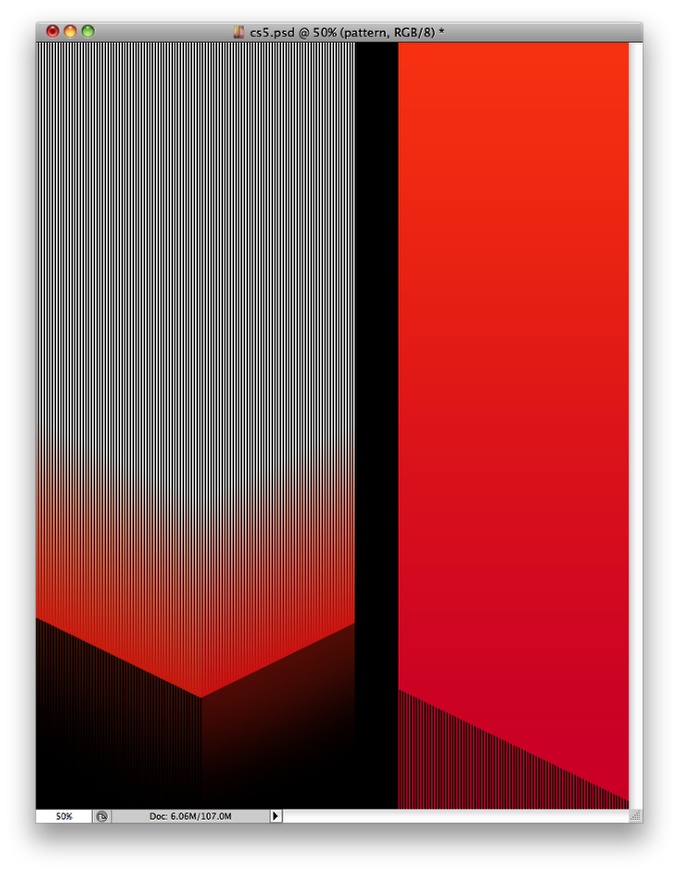
Step 16
Go to Layer>Layer Style>Color Overlay. Use yellow for the color and Multiply for the Blend Mode.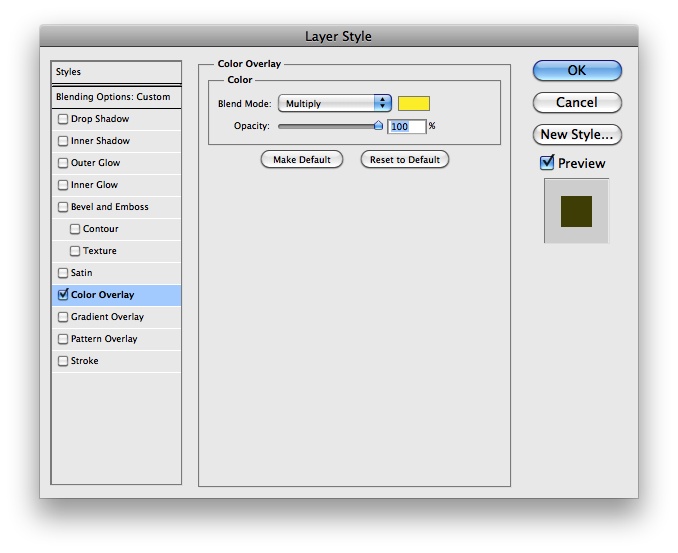
Step 17
With the Polygonal Lasso Tool (L) select an area to hide. Once you create a marquee selection, go to Layer>Layer Mask>Hide Selection. A layer mask will be created automatically (1). Click on the layer mask on the Layer Palette and again with the Polygonal Lasso Tool (L) create a marquee selection on the top left. Then with the Brush Tool (B) and a 50% opacity brush paint over the selection to make the pattern less visible (2). Repeat the same with a rectangle on the edge of the side of the box 1 (3).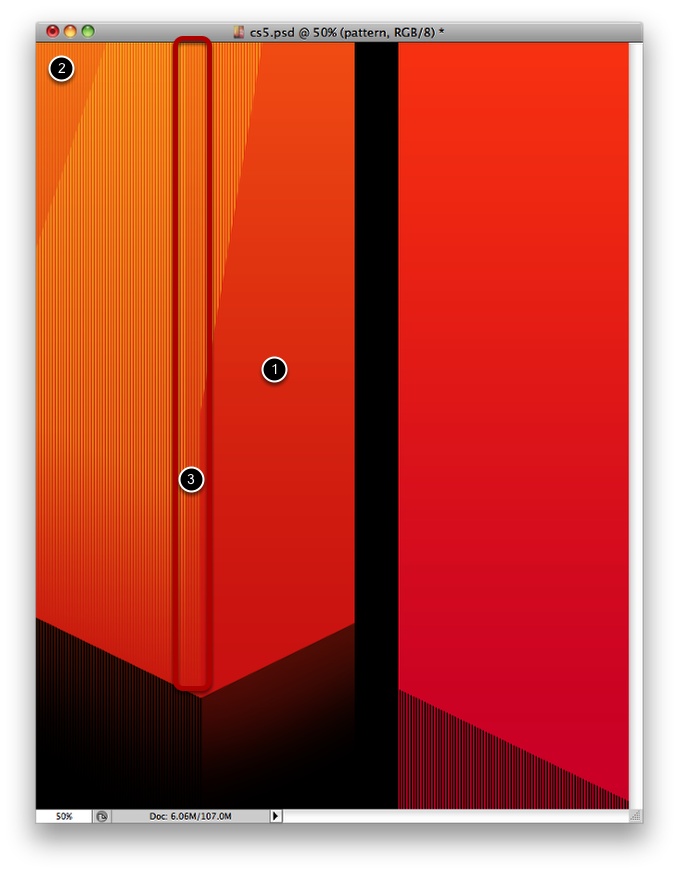
Step 18
Add a new layer and fill it with a linear gradient using the Gradient Tool (G), use (d1b60d) and (854c23) for the colors. Move it so it will only be on top of the box 1.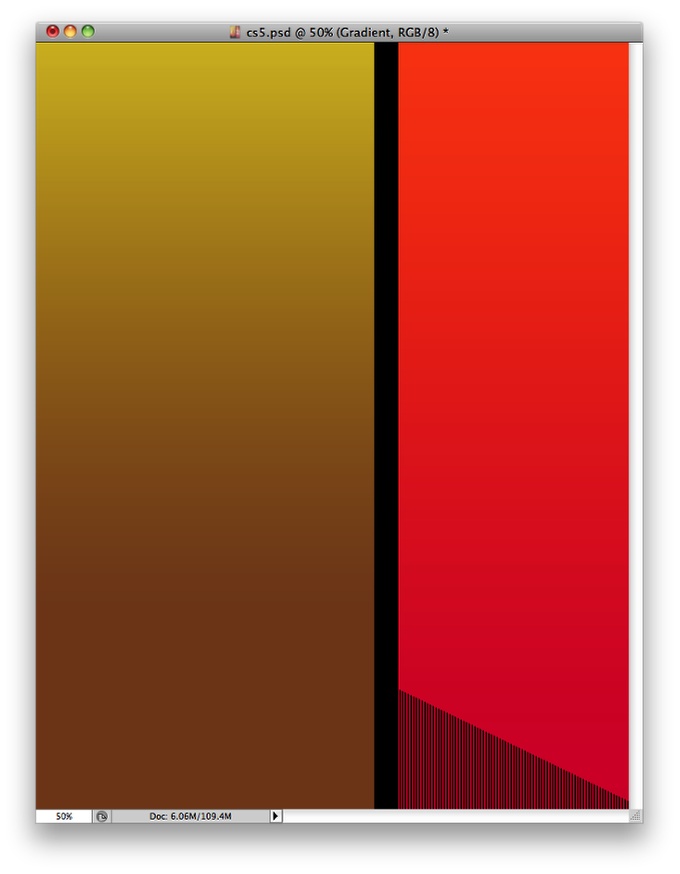
Step 19
Change the Blend Mode of the gradient to Overlay.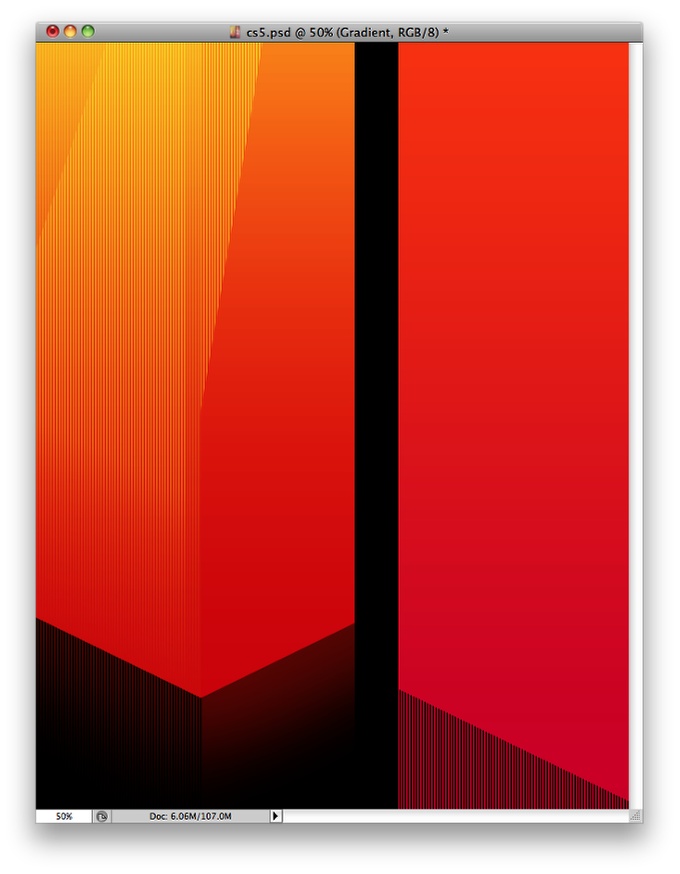
Step 20
Duplicate the box 1 and move it a little bit up and to the right, then go to Layer>Layer Mask>Reveal All. With the Brush Tool (B) get a very soft brush and using black for the color start painting from the top to almost the middle, just to hide and create a sort of fade out effect.
Step 21
Now go to Filter>Blur>Gaussian Blur. Use 5 pixels for the Radius.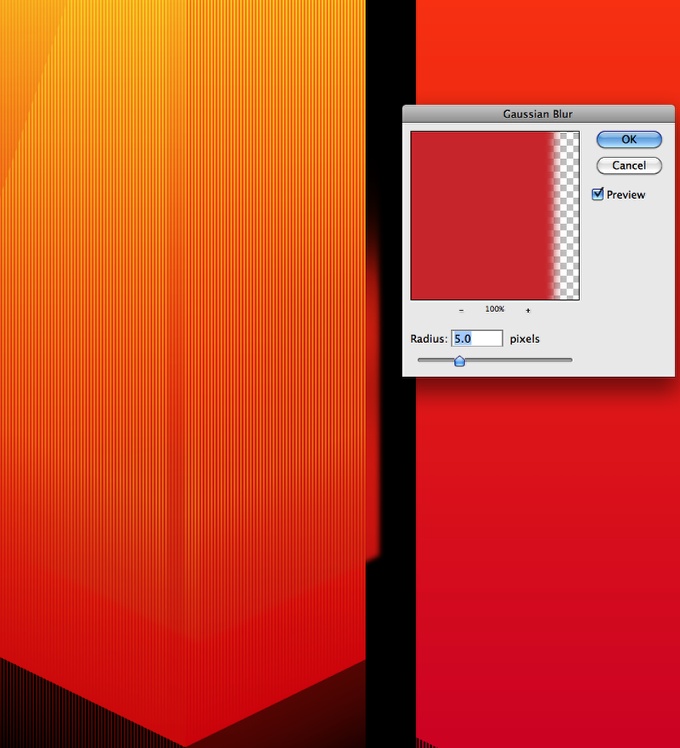
Step 22
Add a new layer and with the Brush Tool (B) and white for the color paint a little spot on the side of the box 1. After that apply a motion blur and then a gaussian blur in order to get an effect similar with the one you have in the image below. For mine, the Opacity is at 70%.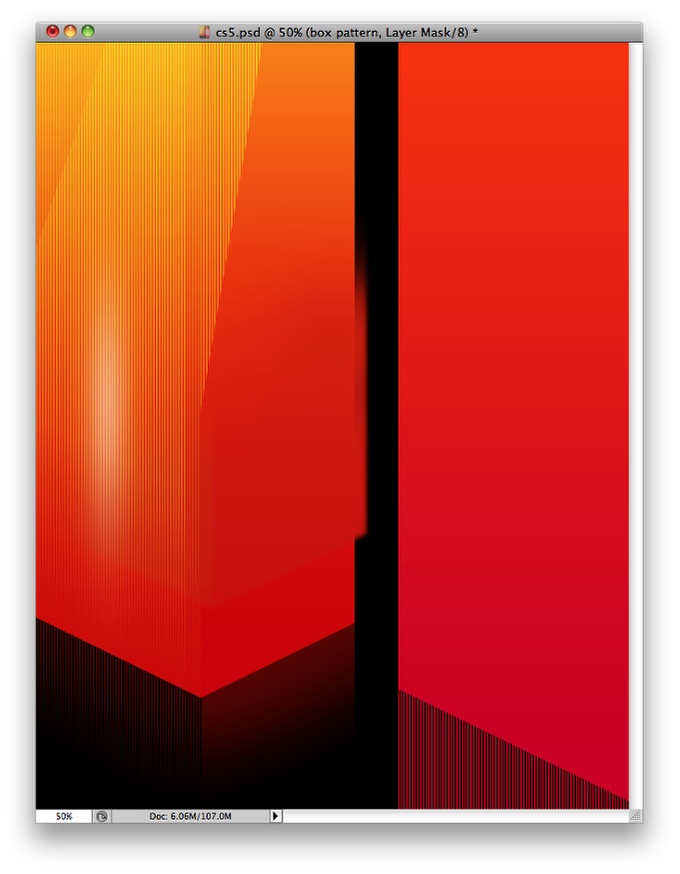
Step 23
Add another layer and group it so it will be inside a folder. Change the Blend Mode of the folder to Color Dodge. Select the layer inside the folder and with the Brush Tool (B) and a very soft brush with white for the color, paint a little light streak. Again apply motion and Gaussian Blur to get an effect like the one I did below.
Step 24
Add a new layer and with the Polygonal Lasso Tool (L) create a rectangle marquee selection right on the edge of the side of the box 1. Use the image below for reference. Fill the marquee selection with any color.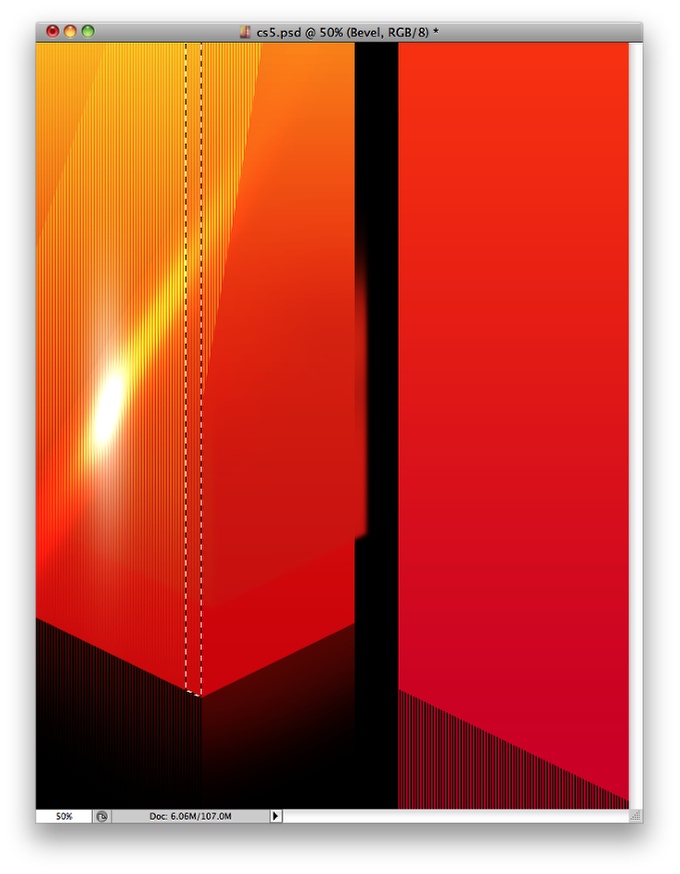
Step 25
With the layer selected go to Layer>Layer Style>Blending Options. Change the Fill Option to 0 and go to Drop Shadow. Use Color Dodge for the Blend Mode, 100% Opacity, 170º for the Angle, Distance of 2 pixels and Size of one Pixel. Also for the color use white.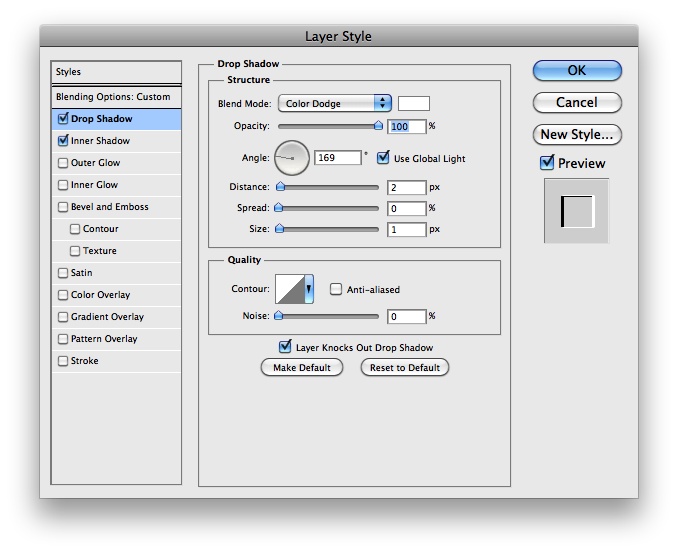
Step 26
Select Inner Shadow. Then for the Blend Mode use Color Burn with Black for the color, change the Opacity to 100% and use 3 pixels for the Distance and for the other values use 0.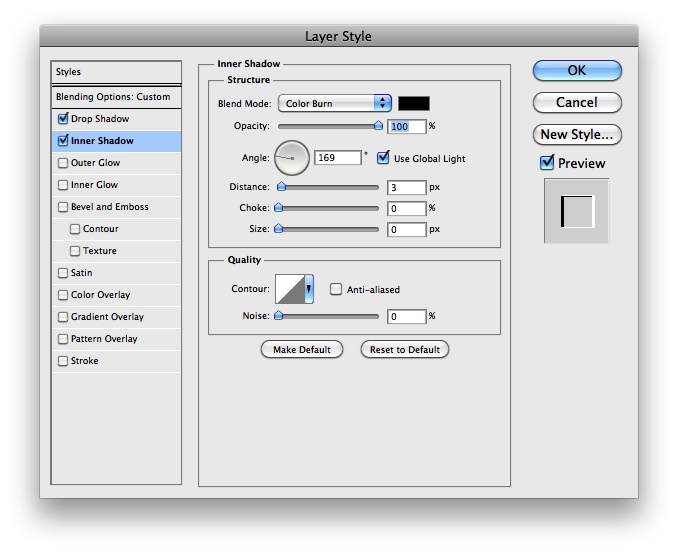
Step 27
You will have an effect very similar with the one of the image below.
Step 28
Now lets add some text. I added the letters A and B using white. Change the Blend Mode to Overlay. After that go to Edit>Transform>Distort and once again repeat what we did in the Step 3, change the V option to 26º.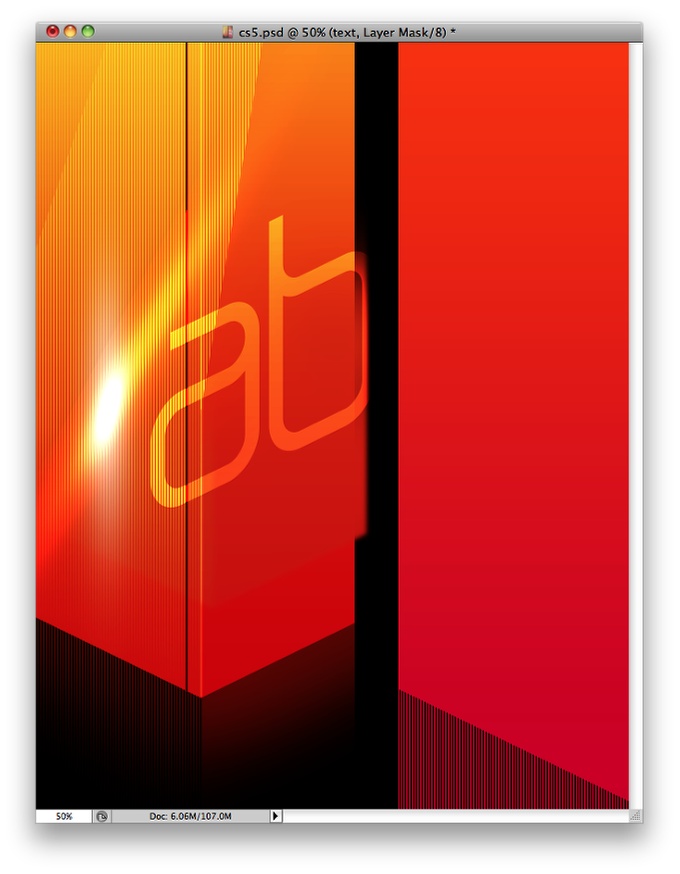
Step 29
Mask the areas that are not over the side of the box using layer mask.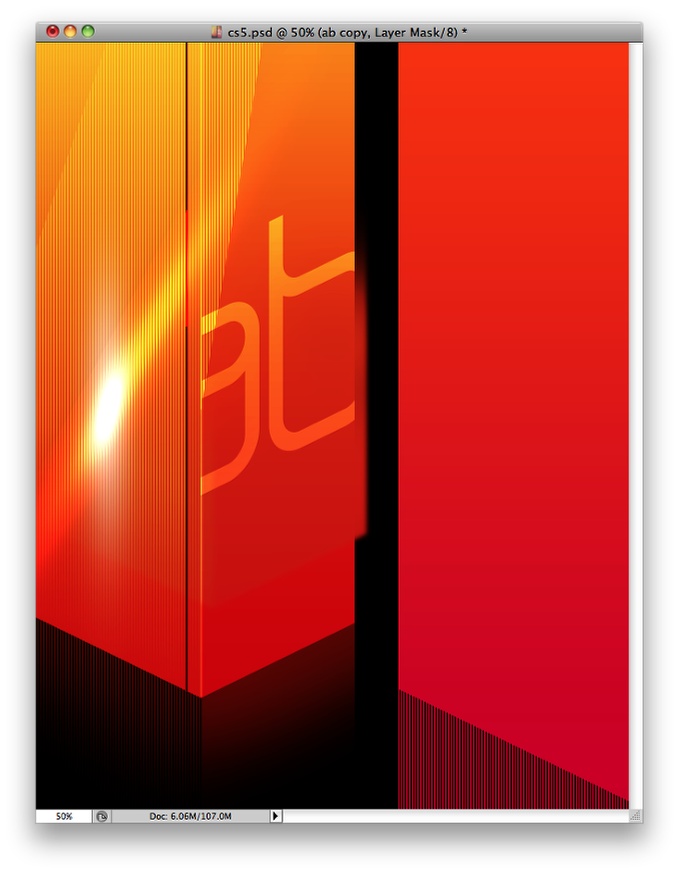
Step 30
Add again a text layer with the same font, size, color and blend mode. Then go again to Edit>Transform>Distort. Use now -26º for the V option.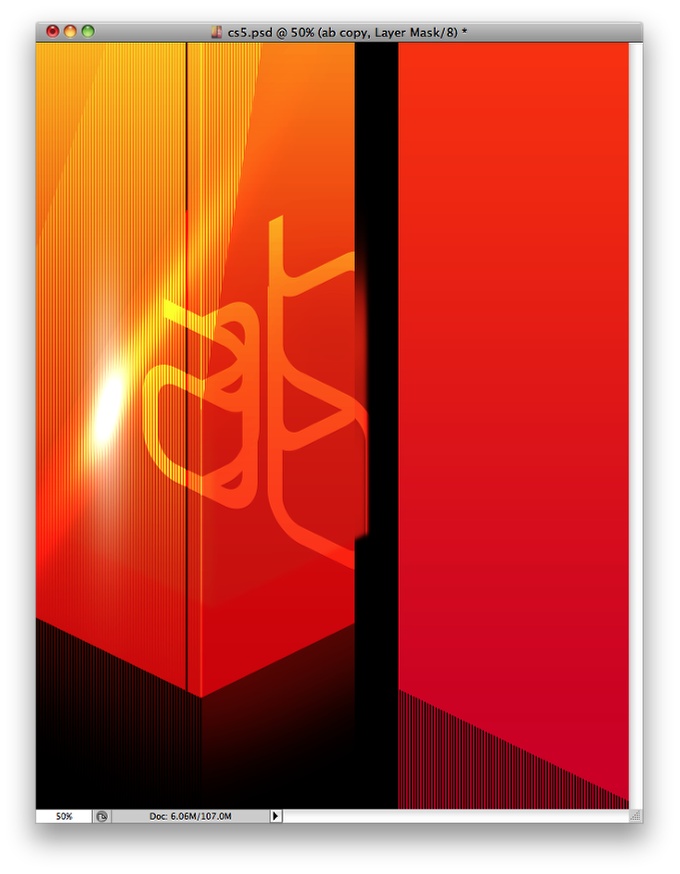
Step 31
Mask the area that are not on top of the side of the box with the same perspective. Then just make sure the two letters A are aligned as if one was printed on the front and the other on the side of the box.
Step 32
With the Magic Wand Tool (W) select just the B. Add a new layer and fill it with the Vertical Lines pattern. Change the Blend Mode to Overlay, then go to Filter>Blur>Motion Blur. Use 90º for the Angle and 100 for the Distance.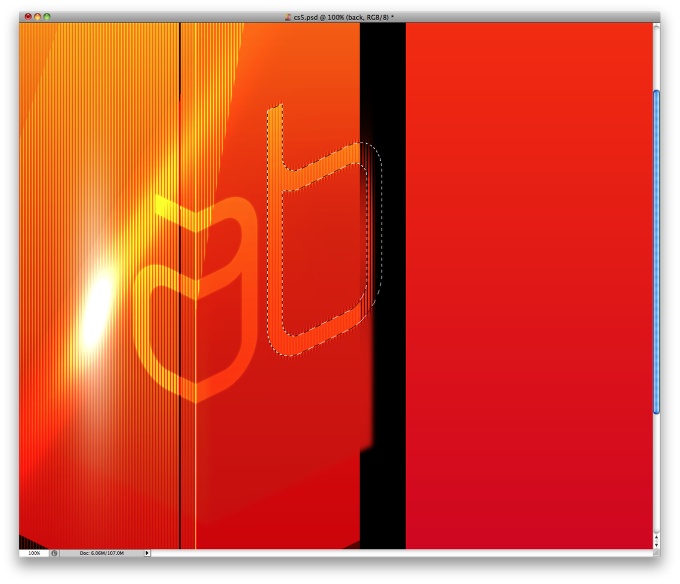
Step 33
Clean up the area that is not over the box. I used masks to do that but you can erase if you prefer.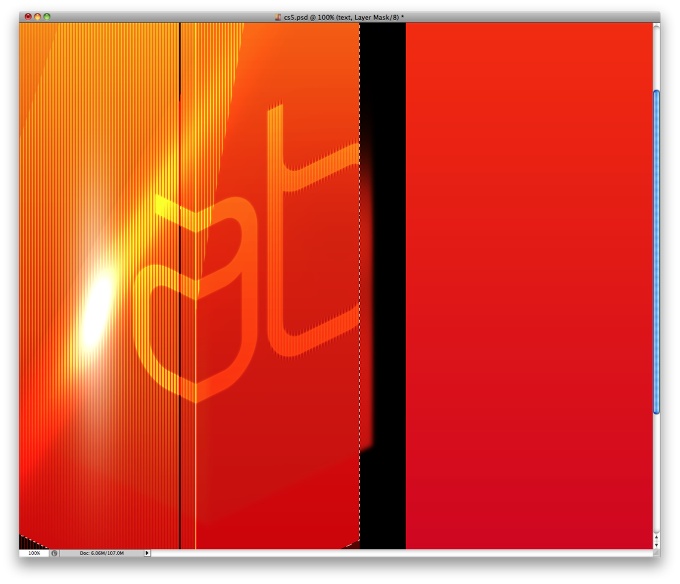
Step 34
Duplicate the AB layer and reduce the Opacity to 50% (1) . Then with the Rectangle Tool (U) create another rectangle (2) and apply the perspective of the side of the box. Fill this layer with (d71238) and change the Blend Mode to Screen.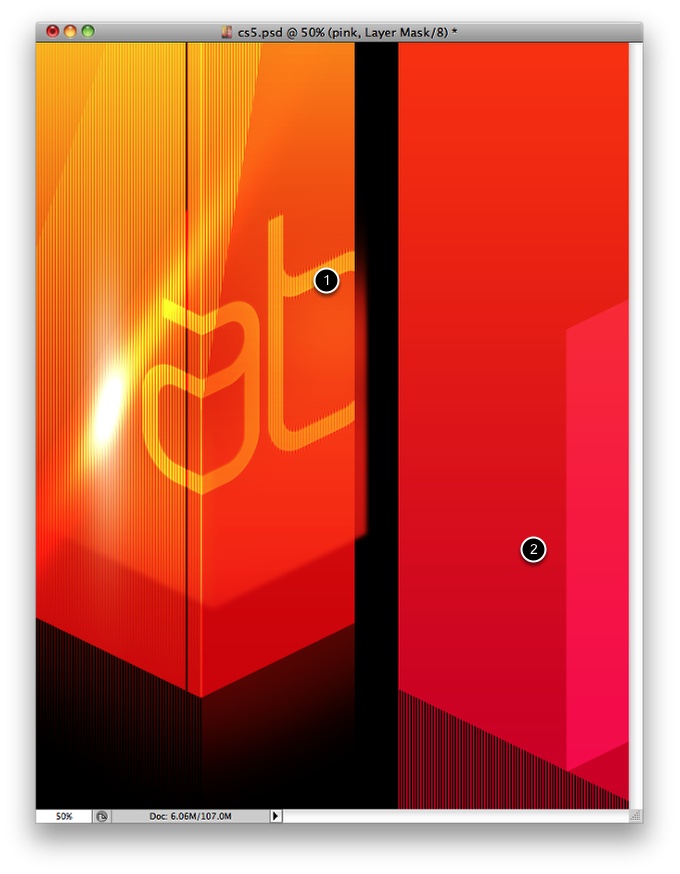
Step 35
Go to Layer>Layer Mask>Reveal All. Then with the Brush Tool (B) and a very soft brush, paint from top to a little bit before the middle to hide some parts of the layer. Use the image below for reference.
Step 36
Now let's work on the box 2. Add a new layer on top of the other layers and then with the Brush Tool (B) and a very soft brush, paint with black on the top right corner, like the image below.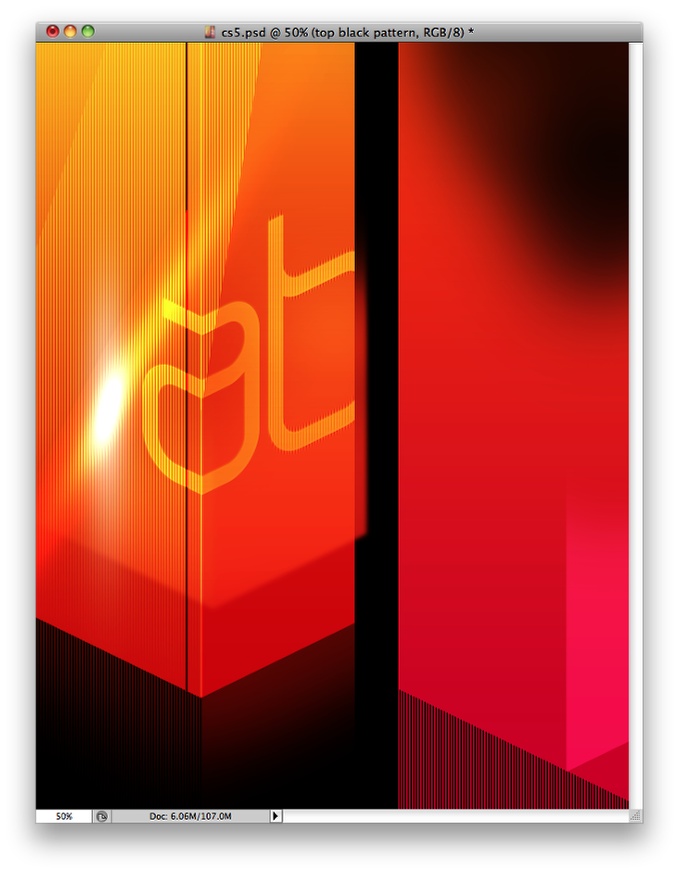
Step 37
Go to Layer>Layer Style>Pattern Overlay. Use the Vertical Lines pattern with Multiply for the Blend Mode. Then just change the layer's fill opacity to 0%.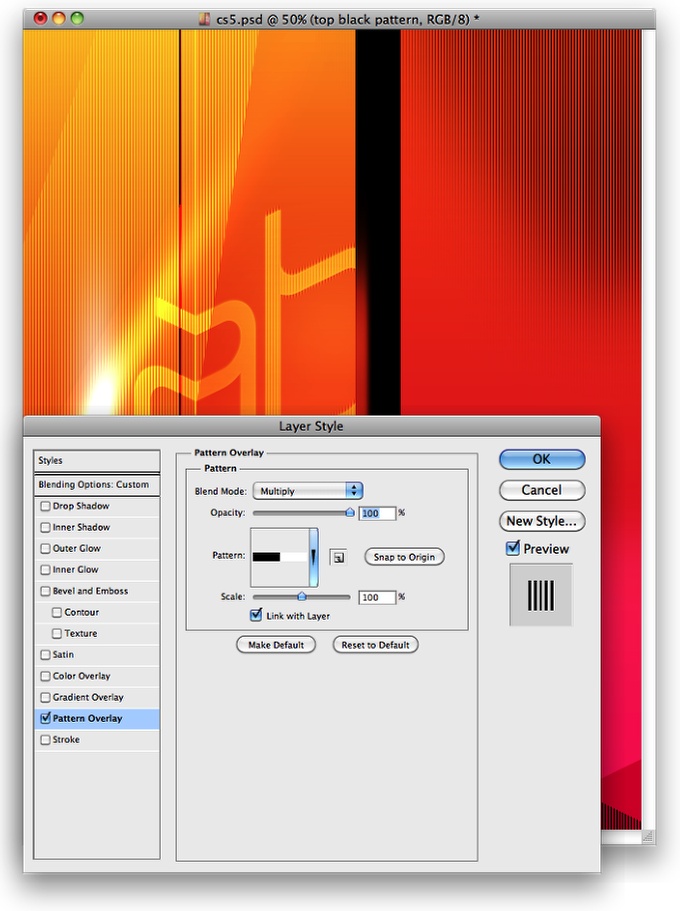
Step 38
With the layer with the pattern created in the previous step selected, get the Rectangular Marquee Tool (M) and then select a rectangular area on top of the front-side of the box, it ends where the pink rectangle starts. Go to Layer>Layer Mask>Reveal All. With the Brush Tool (B) and a very soft brush. Start painting with black for the color but 40% of opacity. The idea is make this area less dark than the rest of the pattern.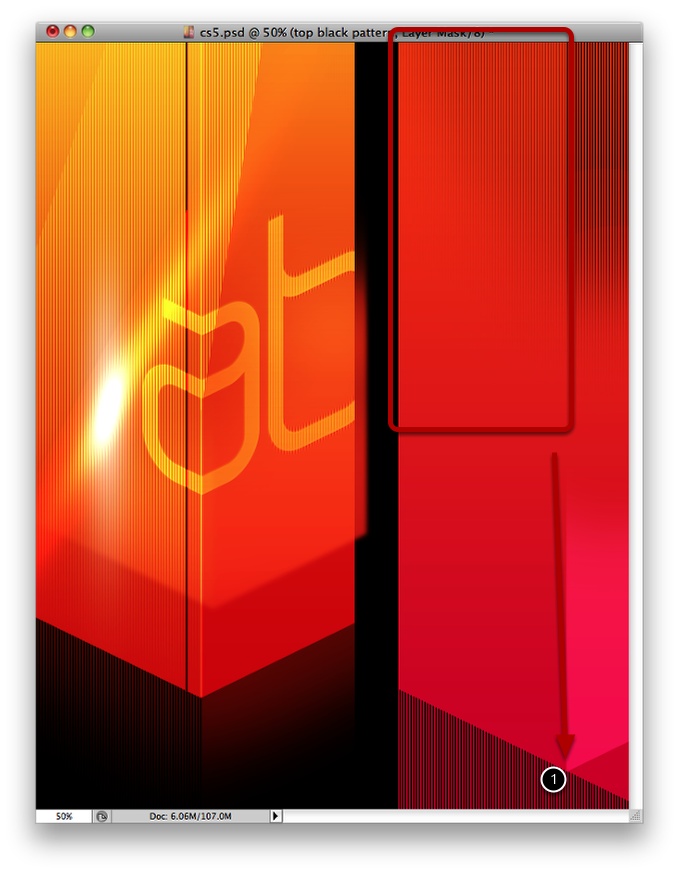
Step 39
Add the D and Z. Rotate them a little bit and mask them so they will be visible only on top of the box.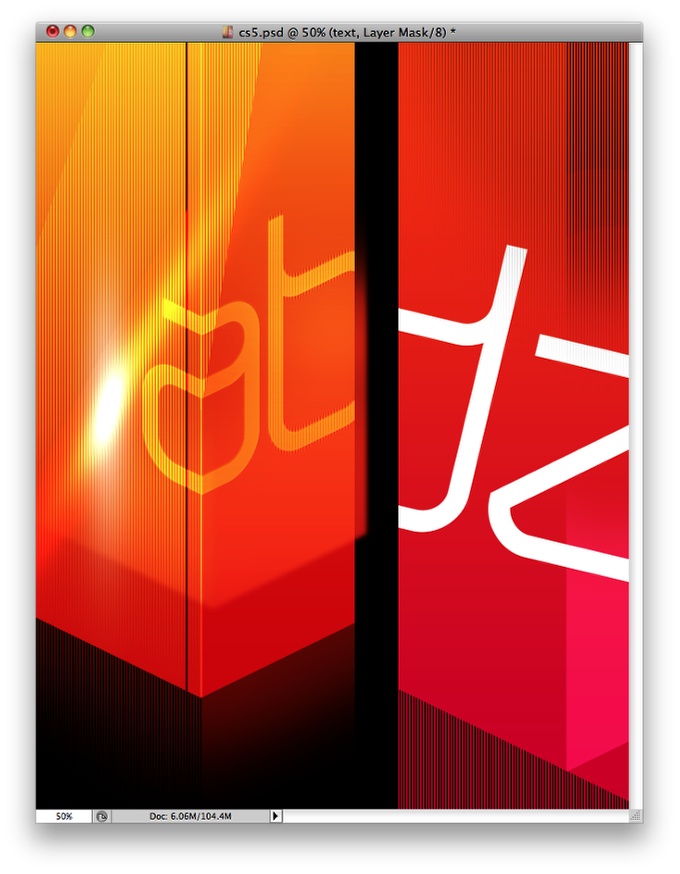
Step 40
Rasterize the text layer and then with the Blur Tool, make the edges of the letters blurry.
Step 41
Duplicate the layer and group it inside a folder. Change the folder's Blend Mode to Color Dodge and then select the layer and go to Filter>Blur>Radial Blur. Use 5 for the Amount, Radial and Best for the Quality. After that go to Filter>Blur>Gaussian Blur. Use 5 for the amount.
Step 42
With the Magic Wand Tool (W), select the D and Z. Add a new layer and fill this layer with the Vertical Lines pattern. The pattern will be applied only in the selected area. Change the Blend Mode to Screen.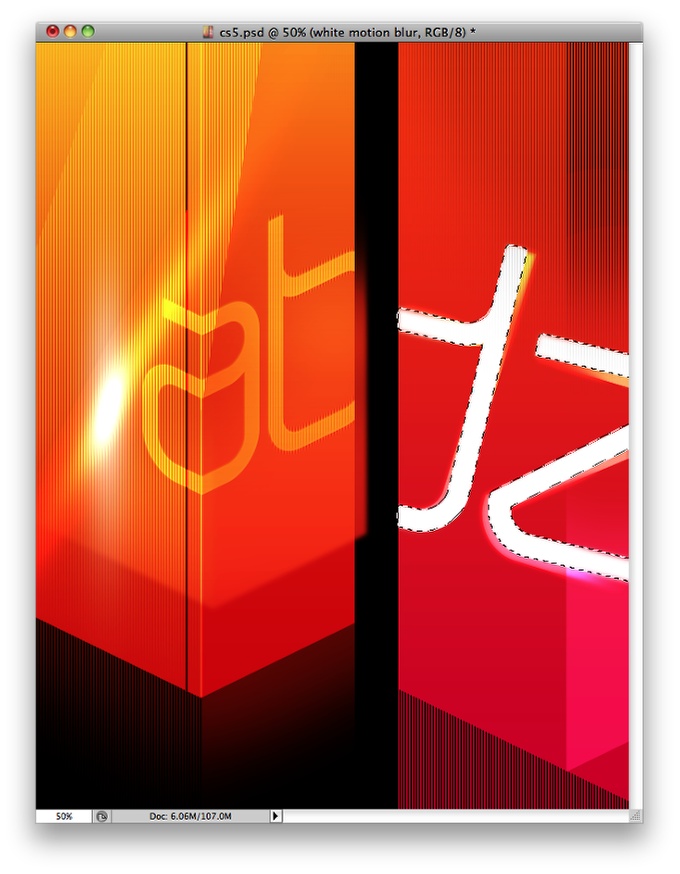
Step 43
Go to Filter>Blur>Motion Blur. Use 90º for the angle and 270 pixels for the Distance.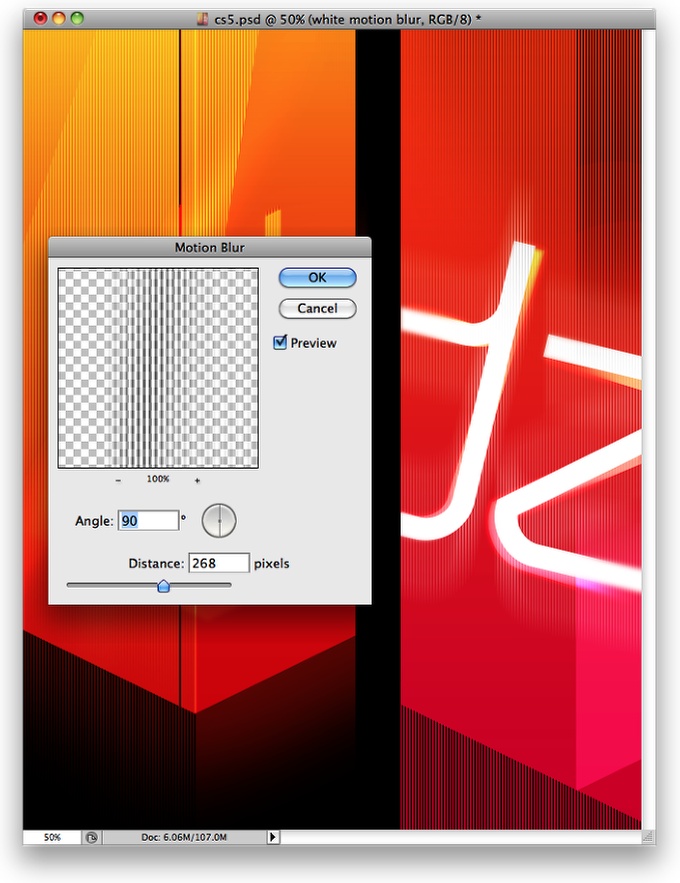
Step 44
Select the layer that is on top of the others then click Command(mac) or Control (PC) + ALT + Shift + E to create a new layer with all the other layers merged into it. Then go to Filter>Noise>Add Noise. Use 4% for the Amount and Gaussian for the Distribution.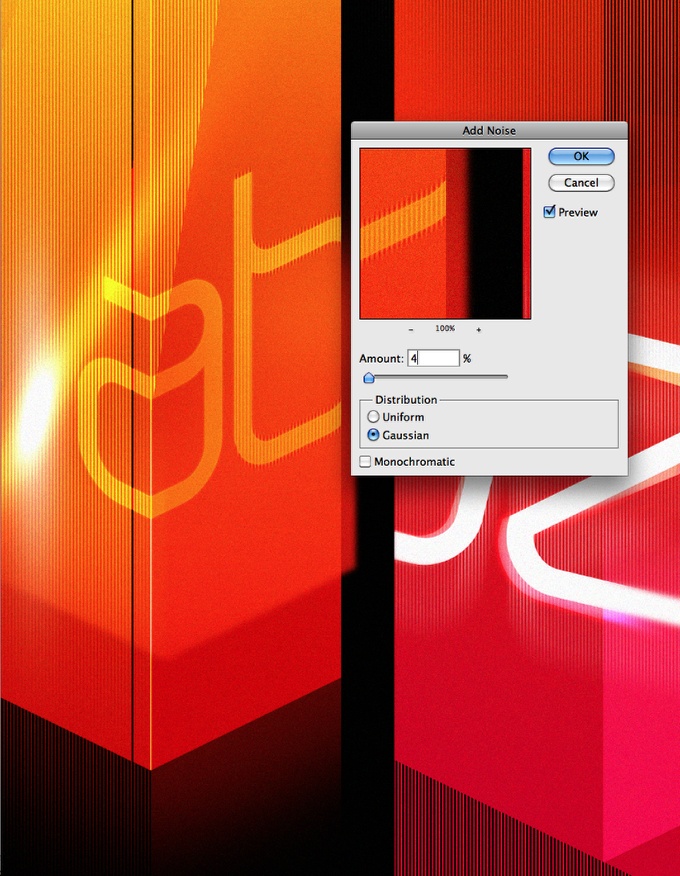
Conclusion
To complete the image just create a very subtle vignette effect if you want and also you can add an Adjustment Layer with Hue and Saturation just to reduce a little bit of the Saturation of the colors, but that is not really necessary. Although the tutorial is quite long the techniques used here are quite simple, it was more a repetition of some process than something totally new.
Download the Photoshop Files
sr: imgs.abduzeedo
No comments:
Post a Comment