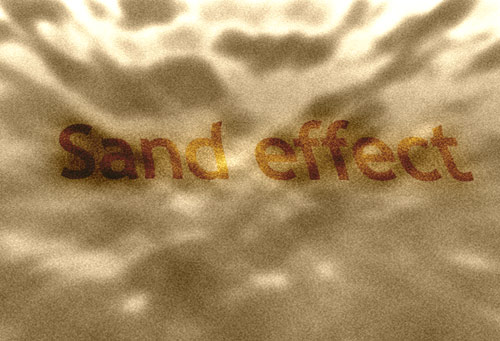
Hi there guys, today I’m going to teach you how to achieve a realistic sand effect in photoshop. I made a search over the internet for some sand effect tutorials but i didn’t find something good so i decided to make one. I found this tutorials very interesting because in those days you can make almost everything from scratch, and this tutorial is about how to make something from nothing. So enough talking, lets start…
First of all this is what we want to make:


Amount – 10% / Distribution – Uniform / Monochromatic
Below you have an example in how should it look:


Amount 40 / Blur Method: Zoom / Quality: Good

Detail: 7 / Smoothness: 15 / Light: Top (you can select every option in this field, i selected top)


Apply those values:
Brightness: -144 / Contrast: -19

Here is the final result:

sr:icc
First of all this is what we want to make:

Step 1
First of all create 500×400 pixels RGB and 72 dpi psd document. Now set the foreground color to #a8905e and the background color to #563d16. See example below in how to set up foreground / background.
Step2
If you set up the foreground / background color as in step above now you can proceed to apply the Clouds Filter (Filter > Render > Clouds). Below you have an example in how it should look:
Step 3
Now you can apply Noise (Noise > Add Noise) using the following values:Amount – 10% / Distribution – Uniform / Monochromatic
Below you have an example in how should it look:

Step 4
Create a New Layer (Shift+Ctrl+N) and select that layer. Now reset your colors to the default settings (D).
Step 5
Apply Clouds Filter (Filter > Render > Clouds) to selected layer.
Step 6
Now use the Radial Blur (Filter > Blur > Radial Blur). Be sure you will make those settings after applying the blur effect:Amount 40 / Blur Method: Zoom / Quality: Good

Step 7
Next you need to apply Bas Relief effect from (Filter > Sketch > Bas Relief), with the following settings:Detail: 7 / Smoothness: 15 / Light: Top (you can select every option in this field, i selected top)

Step 8
We’re almost there… Now change the Blending Mode to (Linear Dodge). Be sure you changed the Blending Mode for the top Layer as in example below (Layer 1), and you will reach the effect we wanted to achieve.
Step 9
And the final step, go to Brightness / Contrast (Image > Adjustments > Brightness / Contrast).Apply those values:
Brightness: -144 / Contrast: -19

Here is the final result:

Conclusion
Finally we finished this tutorial, hope this tutorial helps you in designing new cools stuff, and please share with us all your works around this tutorial. If you have new ideas about this tutorial don’t be shy, drop us a line. And don’t forget Be Creative!sr:icc
No comments:
Post a Comment