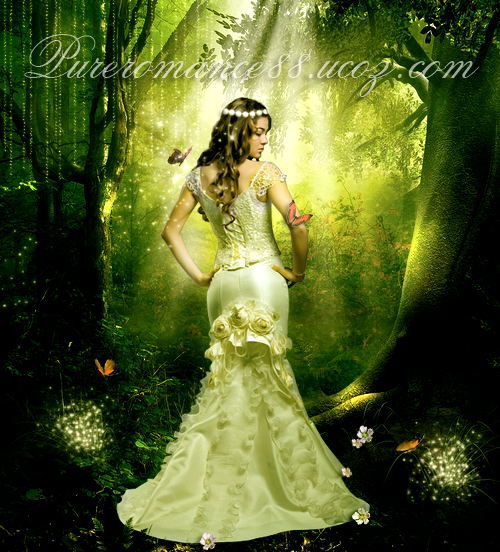
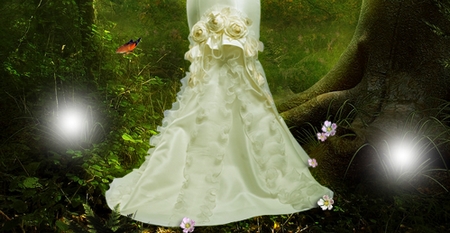
My first fantasy photo manipulation, so bear with me!
 . I wanted to create a fantasy tutorial, but lacked the idea. Finally i ended up with this result. I dont really like it but i hope i can get good feedbacks and suggestions my future tutorials. So, help me?
Resources:
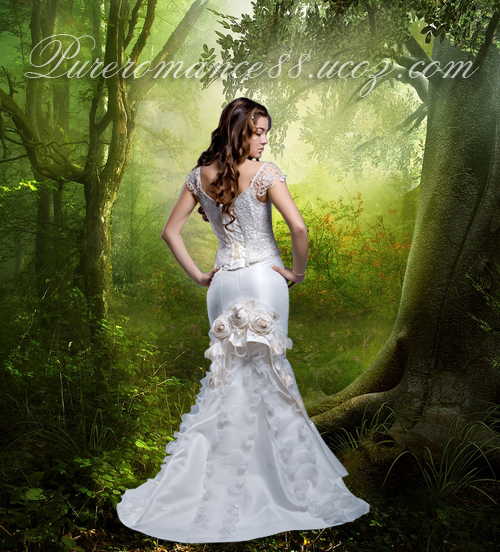
Model
Forest background
Fern
Wild flower
Butterfly 1 and Butterfly 2
Glitter brushes
Light ray brushes
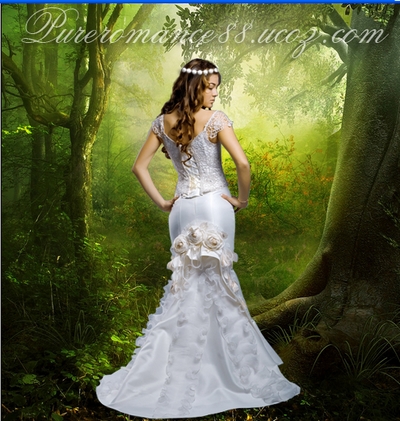
1. Open the background , resize it.
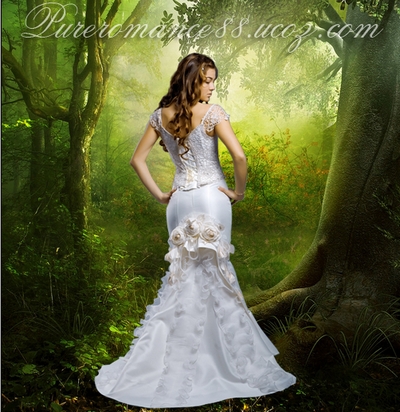
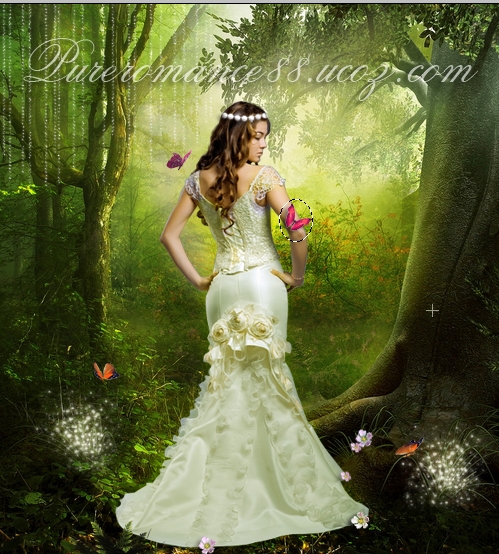
2. Open the model stock. I use pen tool to extract her out and move into document. The bottom of background is dark and her dress is very long so we dont need to make shadow under her. We will make some things to make her look more realistic later.

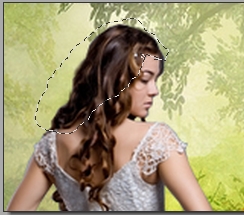
3. Create a new layer, i use clone tool to fix her hair, check "Sample All Layers" on property bar. Now it looks more natural. To use clone tool, you can search for my retouch tutorials or on the webs.
4. Make a new selective color layer:
Reds: -70,-49,64,0
Yellows: 14,9,44,0
Greens: 35,21,46,0
This step is to make color of model more suitable to background.
5. Create two new layers, grab a selection with Elliptical Marquee tool on the first:
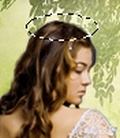
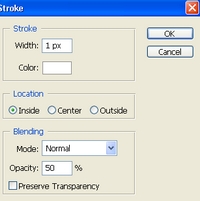
Choose Edit-Stroke:
Choose second layer, click Marquee tool, then right click the selection, choose Make Work Path with tolerance =0.5
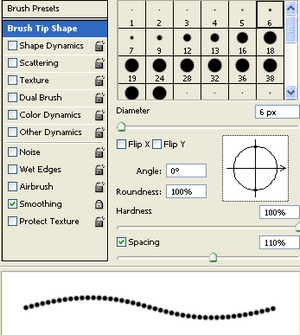
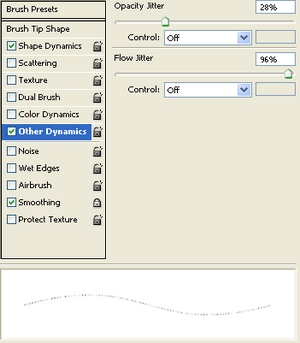
Choose brush 6 px, hardness 100% with settings:
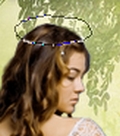
Choose Pen tool then right click the path, choose Stroke Path:
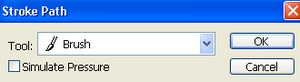
Right click it again, choose Delete Path we have:

Merge two these layers, add layer mask to eraser this circle to make it look like the pic below:
Apply Blending options:
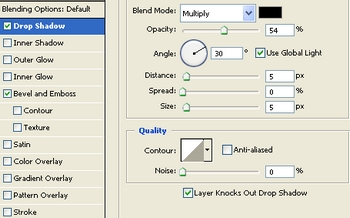
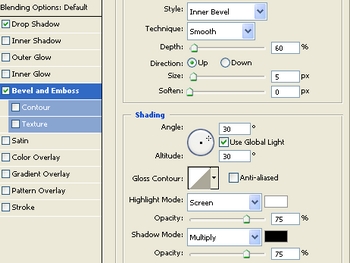
This is what we have:
6. Open butterfly stock. Make selection around some different motions, copy it and paste into our file. Resize and set different positions ( its not really matter because we will edit them later )
7. Create a new layer, use Line tool to draw some lines:
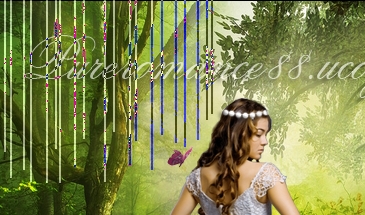
Choose white brush with 2px, hardness 100% with settings:

Choose Stroke path and Delete path like step 5 we have:
This step is to create tree curtain.
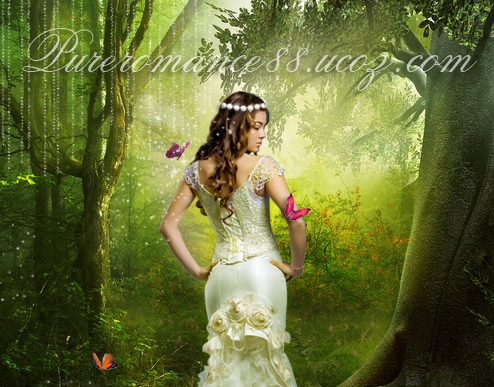
8. Make a new layer, use soft brush with color 94a51e to paint over her dress. Set it to Soft light 100%.

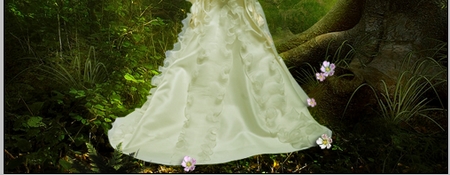
9. Open the fern stock. I resize it then drag into document and place it under model dress:
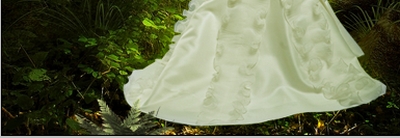
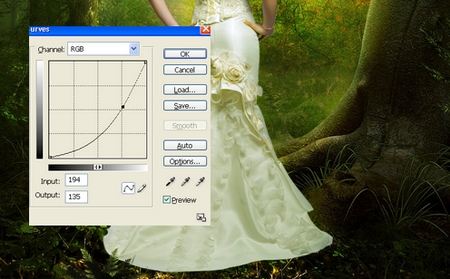
Press Ctrl+M to reduce the light and tone:
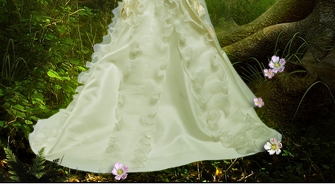
10. Cut the wild flower stock and paste into our file. Resize, move, duplicate it many times, change some colors, distort, make drop shadow ( from blending options with default settings) and positions like this:
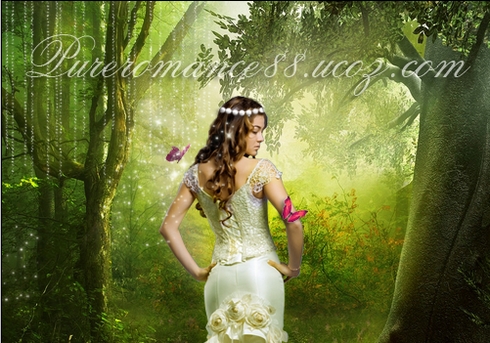
11. Create a new layer, use soft white brush to make some spots on the pic:
Set this layer to Soft light 100%
12. New layer again, use Glitter II brushes, number 2170 then 2196 with 90 px make some glitter parts:
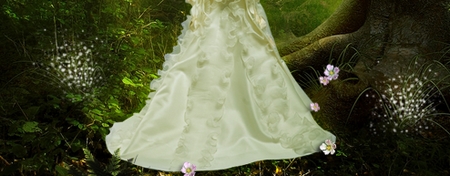
Aply Outer glow with default settings we have:
13. Come back to butterfly layers, move them to different positions and make shadow from blending options for the butterfly selected on the pic:
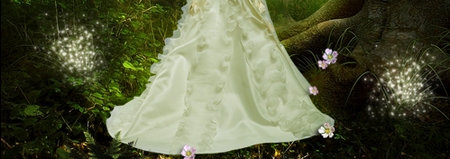
14. New layer with glitter brushes, make some sparks :
Set outer glow with default settings:
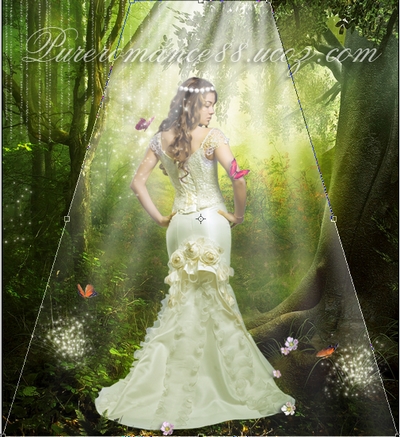
15. New layer again, use light ray brushes, number 1266 with 650 px to make a light ray on the pic, lower opacity to 70%:

Use perspective tool to transform it. Add layer mask to eraser some sharp part of the light rays. Then place this layer under the girl layer.
16. Make a new layer, i use soft white brush making some spots on model:
Set it to Soft light 100%.
17. Create a new color balance layer:
Midtones: 20,13,-28
Shadows: 0,20,0
Highlights: 0,0,-10
New selective color layer:
Yellows: -11,-18,54,9
Greens: -26,100,100,100
Blacks: 5,14,69
New Brightness/contrast layer: -15/10
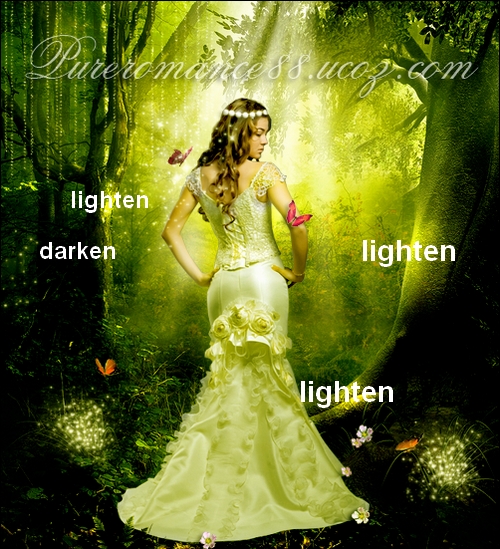
18. Make a new layer, set to Overlay and fill with 50% gray:
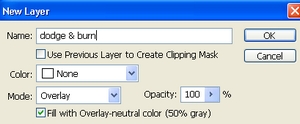
Use Dodge and Burn tool to lighten and darken some parts of the pic.
Move it under Color balance layer.
19. A new selective color layer
Reds: 72,-49,0,0
Yellows: 11,25,-24,0
Greens: 30,-36,0,55
Magentas: 100,-100,0,100
Color balance layer :
Midtones: -12,-17, 19
Shadows: 0,12,-8
Highlights: 0,0,-6
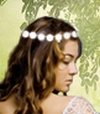
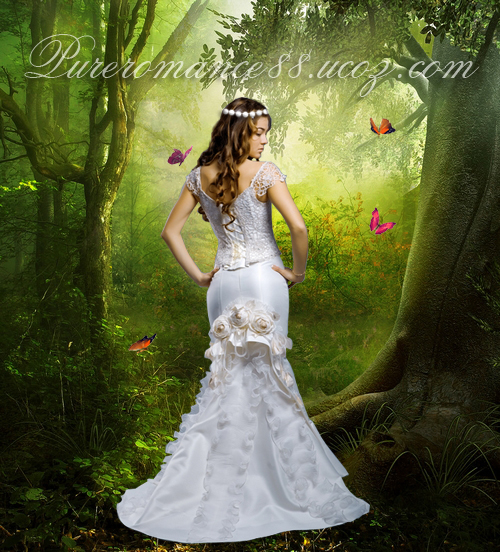
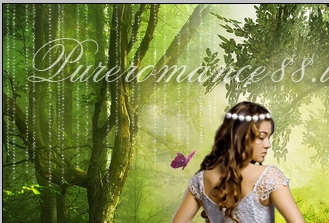
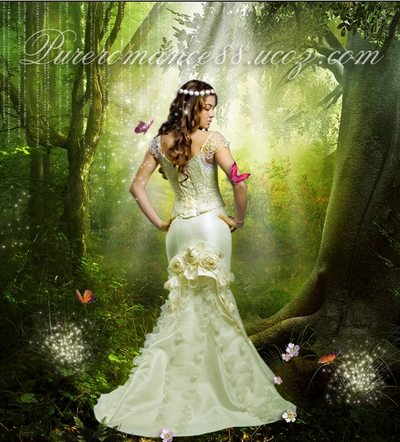
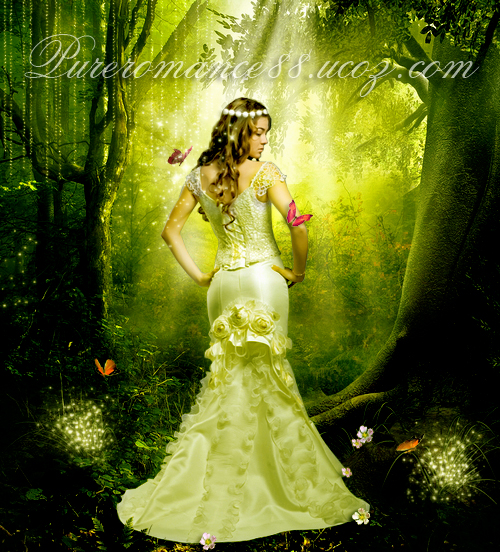
Final result:
No comments:
Post a Comment