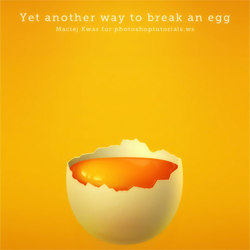
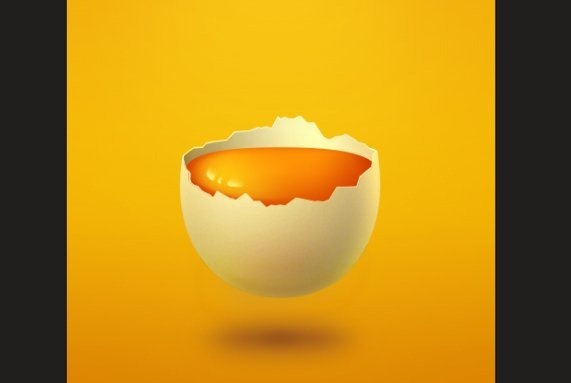
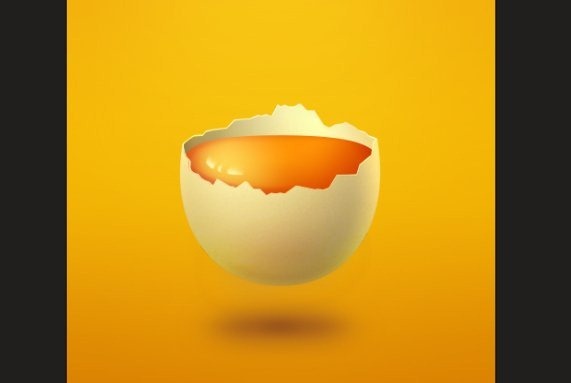
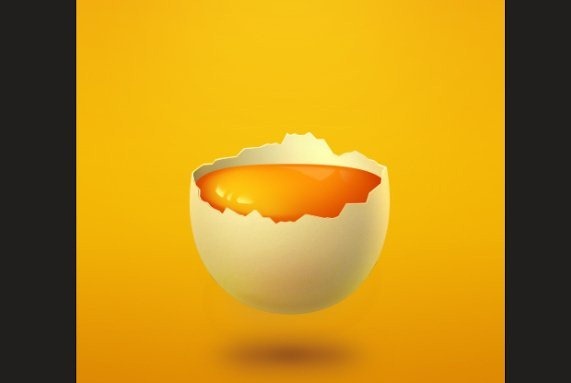
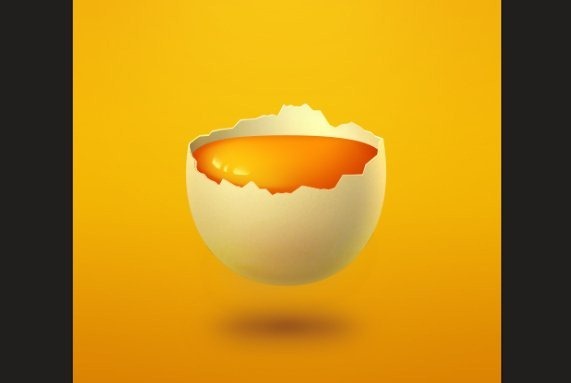
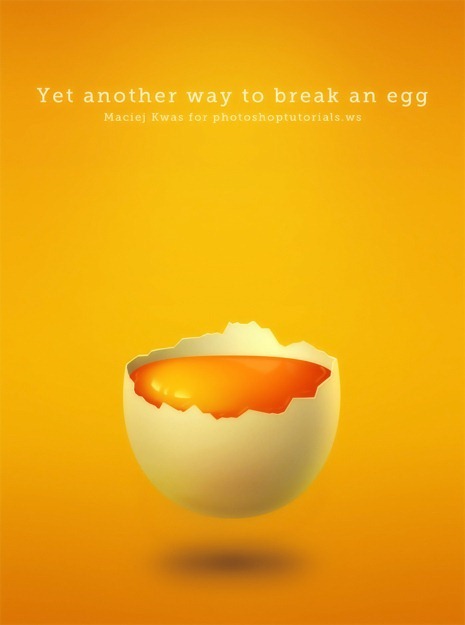
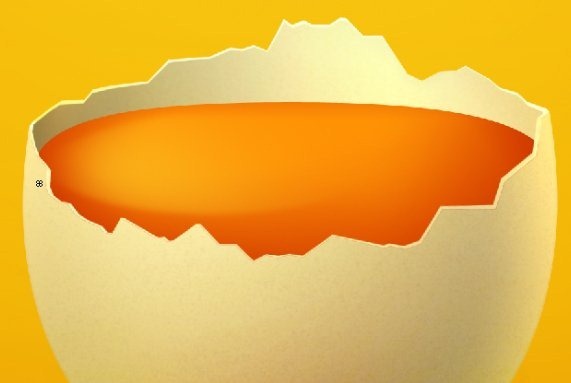
 Learn how to draw this beautiful drawing of a yolk in an egg shell. This extremely detailed tutorial will show you how to create a realistic broken egg shell and add reflections and shadows to create the curvature of the yolk. A high resolution PSD is included with this tutorial.
Preview of Final Results Photoshop updates
Amazing Broken Egg and Yolk Photoshopupdates
- Program: Adobe Photoshop CS4
- Difficulty: Medium
- Completion Time: 1-2 Hours
Step 1
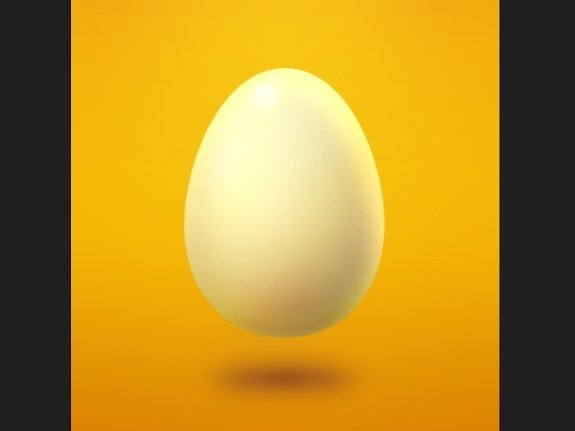
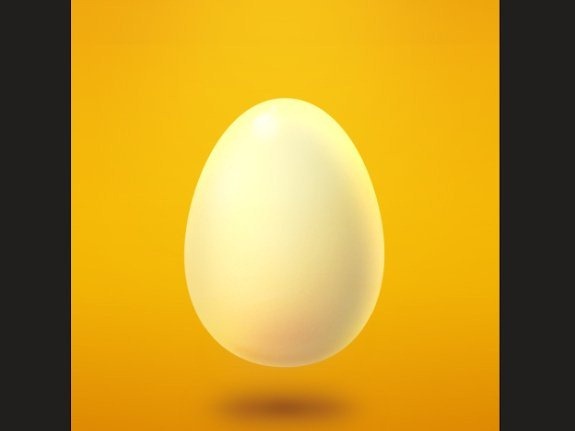
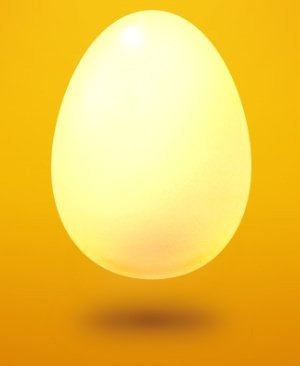
First of all, we have to create some egg. The easiest way is to download the file (http://photoshoptutorials.ws/downloads/psd/Egg.zip ) which is the source of my previous tutorial. There you can delete all the layers except the ‘shadow’, ‘bg’ and the hidden copy of our egg named ‘egg copy 2’. And this will be our starting point. If you want to train yourself, you can just follow the steps from my previous tutorial (link) and made up the egg. The reason I’m using this egg is that I want to leave a bit of orange color on the eggshell and also some texture. I will not care about shadows and will cast them later. So for now we have something like this: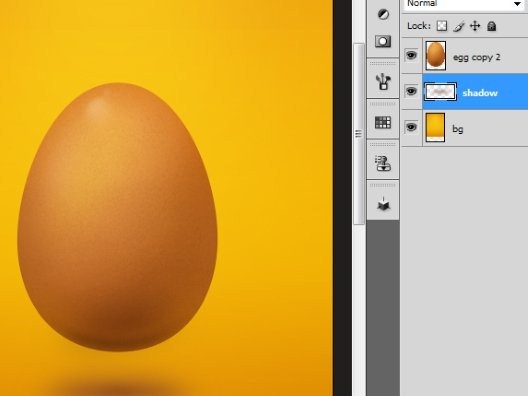
Step 2
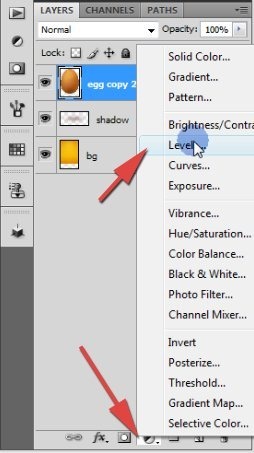
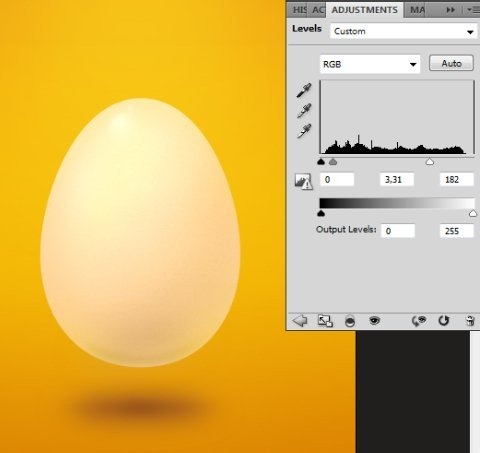
We have to play with some adjustment layers to make our egg almost white. The reason of changing color is a contrast. Background is orange, and yolk also. We must do something that will grab attention. Something that will center the point of view and separate things.In the Layers window click the icon shown below and choose Levels.Photoshop updates
Step 3
For sure we need some mask for we have applied our adjustment globally. Yet there is a better way for this- we will use clipping mask. To do a clipping mask move the cursor between layers in layer’s window. Hold alt, and when cursor will change, left-click.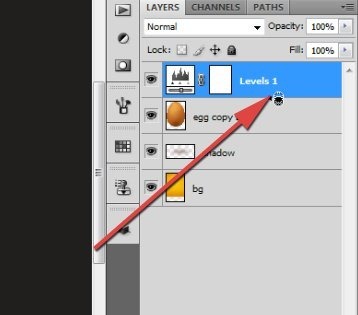
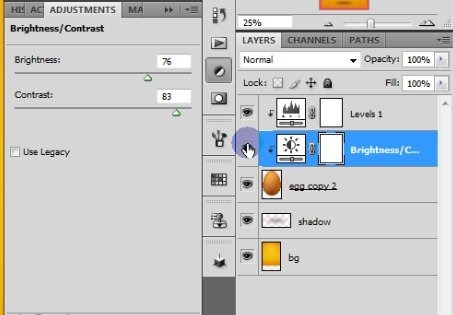
Step 4
Create new clipping layer in between two adjustment layers.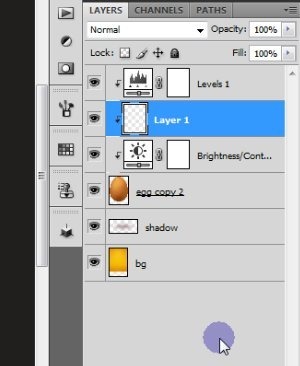
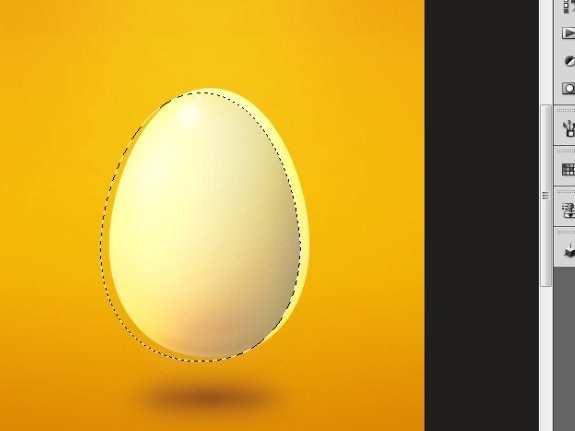
Step 5
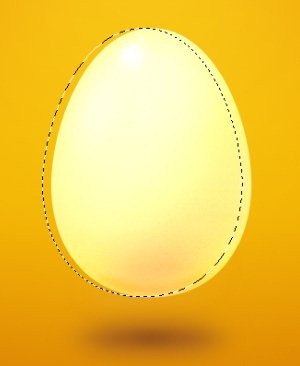
Then go to Filter > Blur >> Gaussian blur and apply these settings. It is possible that you will aslo have to move your gradient a bit to the right and bottom as I did.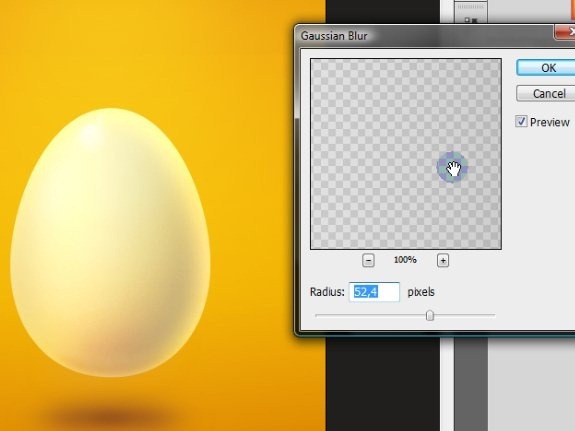
Step 6
Create new layer under the Levels adjustment layer (still as a clipping mask) and make a selection similar to this one. We will create another shadow. You could ask- why we are using selection if we already have a clipping mask...? Here is the answer- the reason is just a saving of RAM memory. You probably won’t notice that this time, but, believe me- when you will work with very huge documents with tons of layers these operations would be a blessing.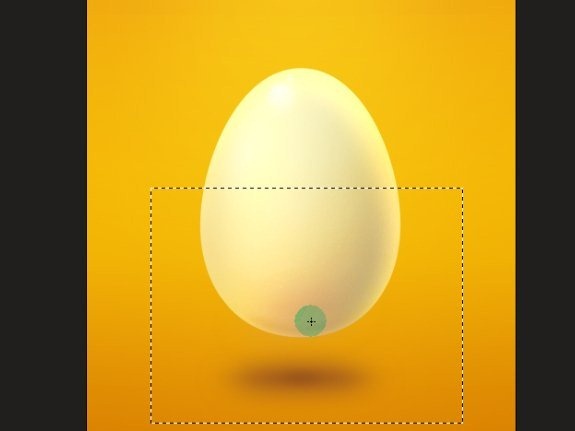
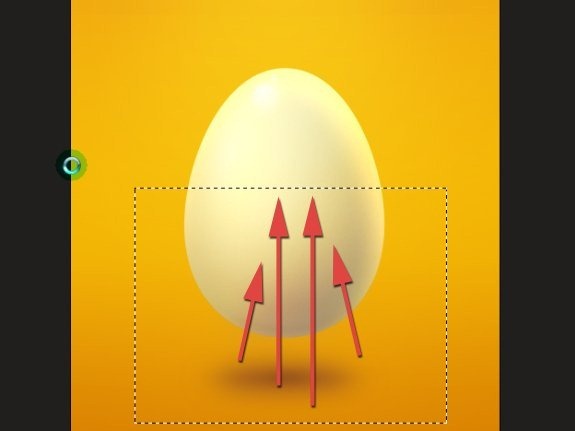
Step 7
It is good practice to organize your layers into a folders. To do this, select all the layers you wish to group (Click on a first layer in Layers window, then hold [Shift.jpg"> and click on last).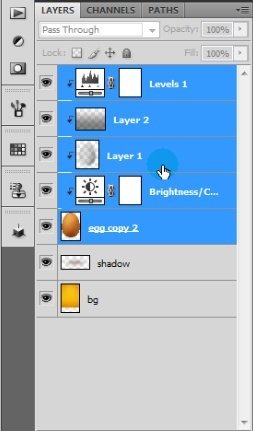
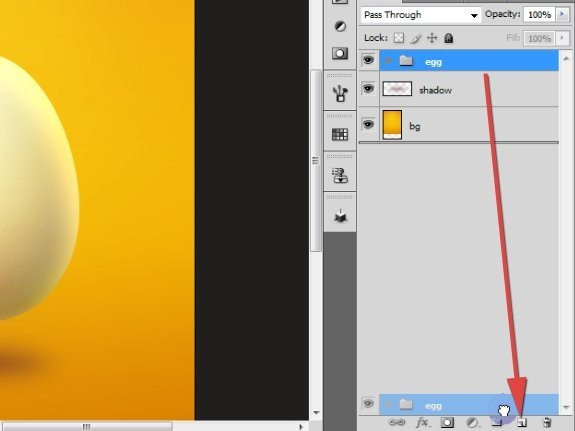
Now drag your newly created group onto the New Layer icon so you will duplicate your group.
Step 8
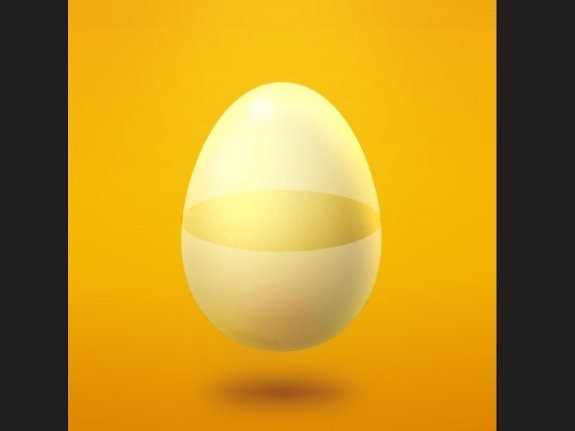
Before we will start to do anything we have to make some little planning. Pick up Ellipse tool and make shape that will simulate for now our yolk. Don’t bother yourself about the color. Also you don’t have to be very precise. Just make a shape and then make it fit to the egg. This will also in some way indicates a perspective.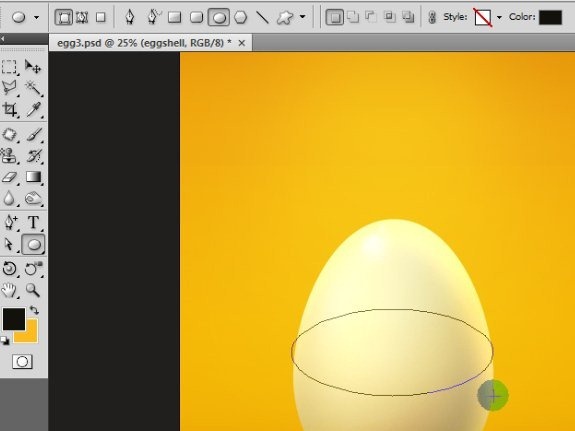
Step 9
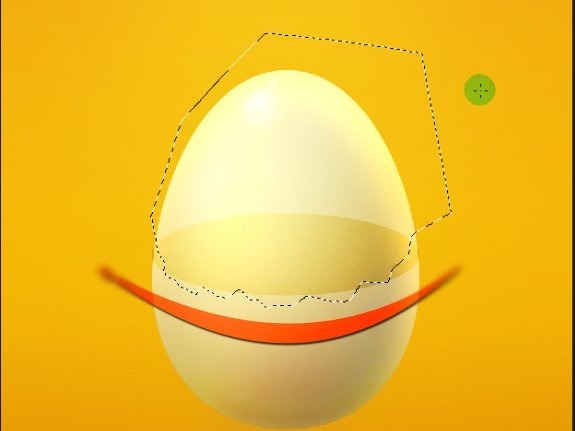
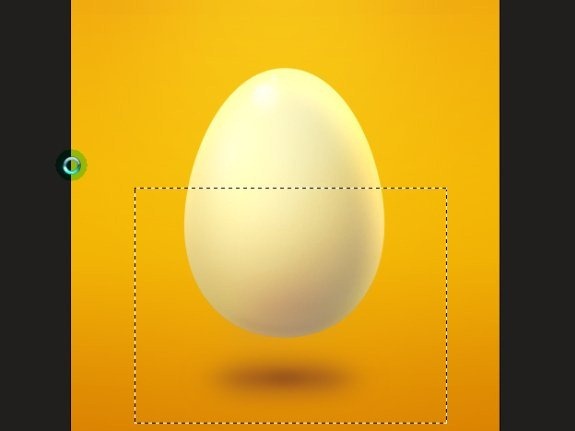
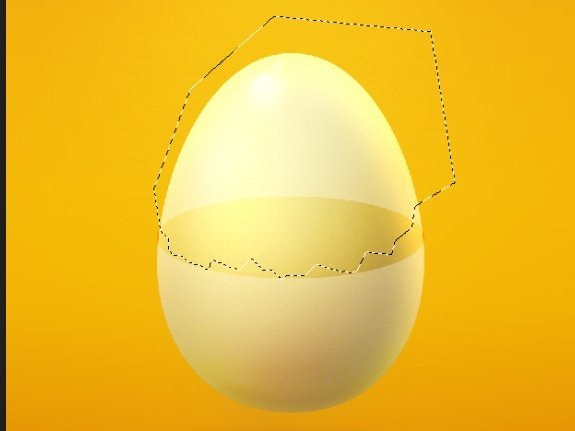
Now we will try to make some detachment. Treat our shape as a yolk and watch for its border. Select the eggshell layer, pick Polygonal marquee tool and make a selection like one below: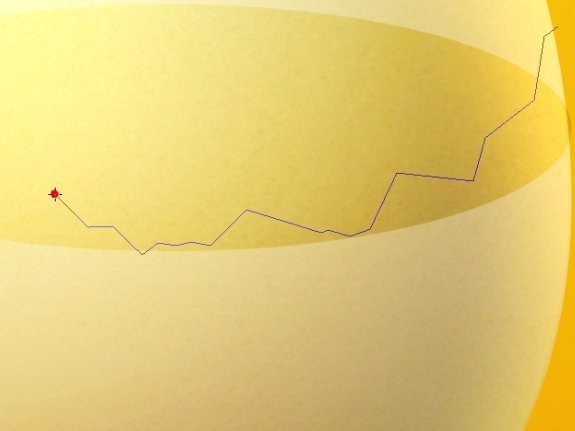
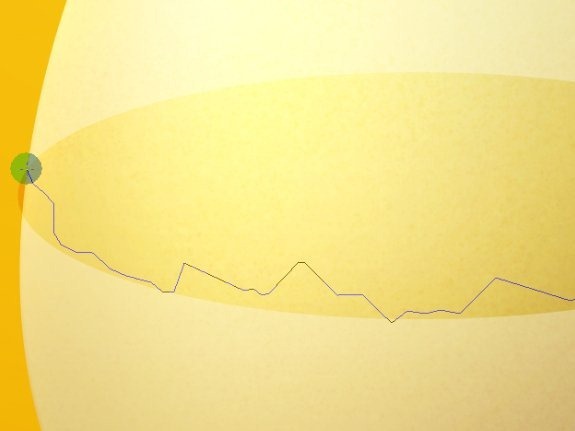
Step 10
As we have a selection, go to Select > Transform selection.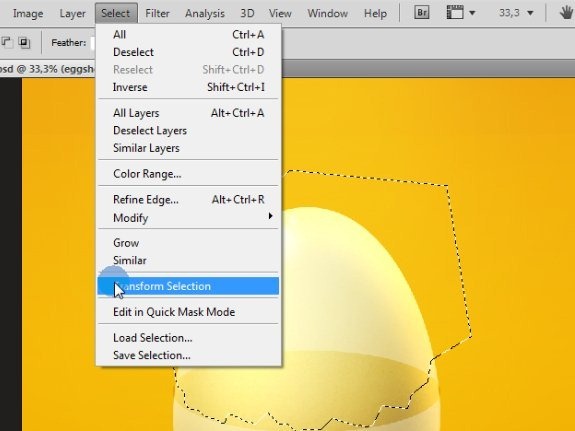
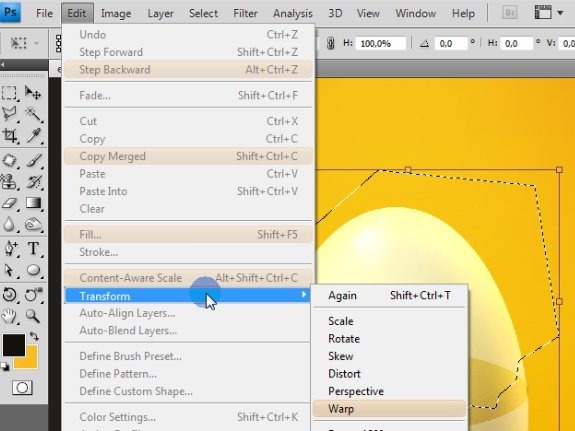
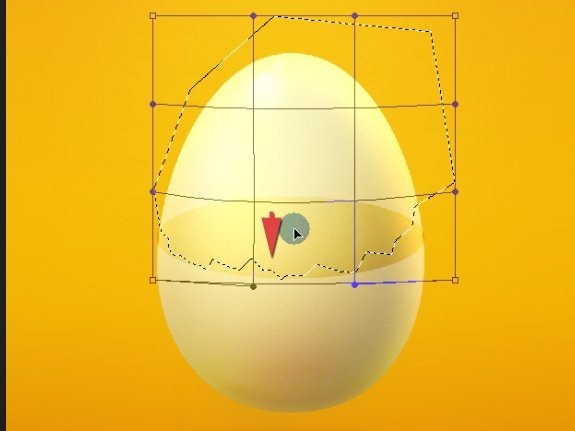
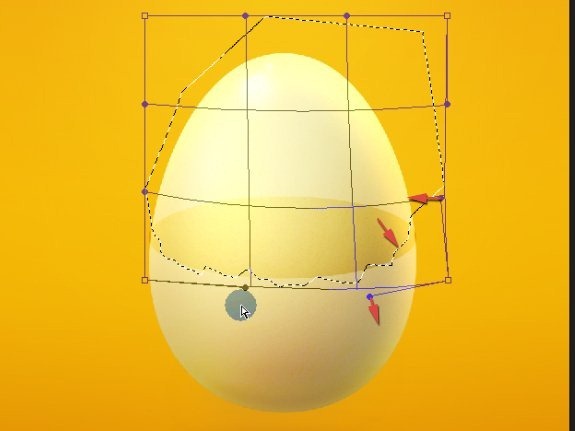
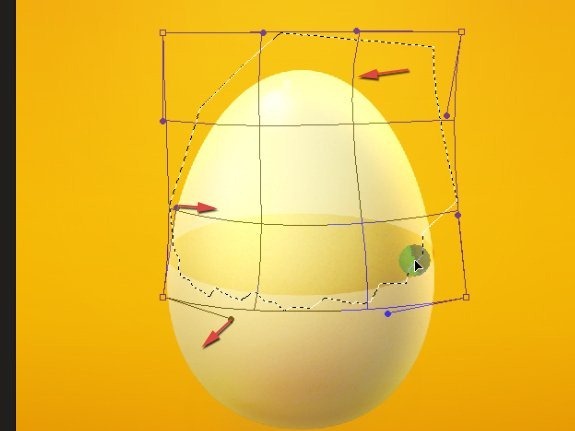
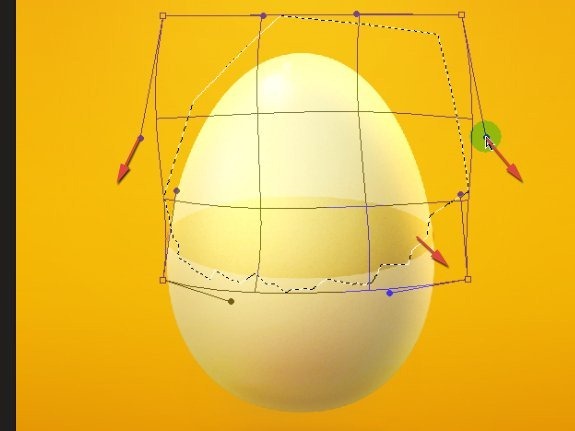
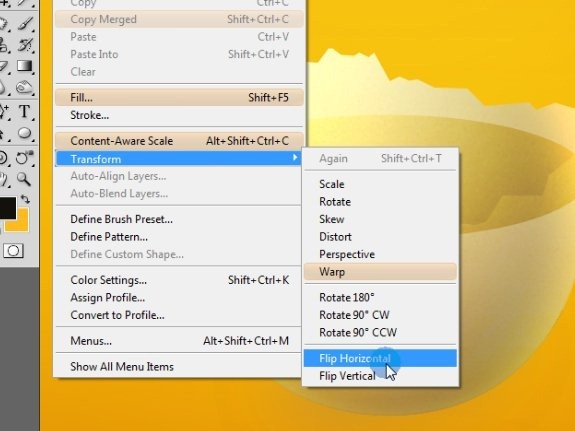
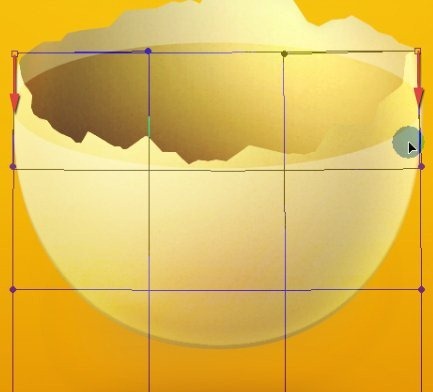
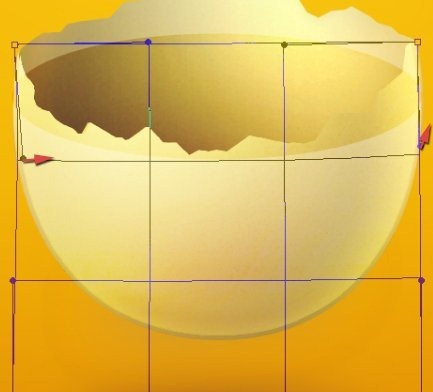
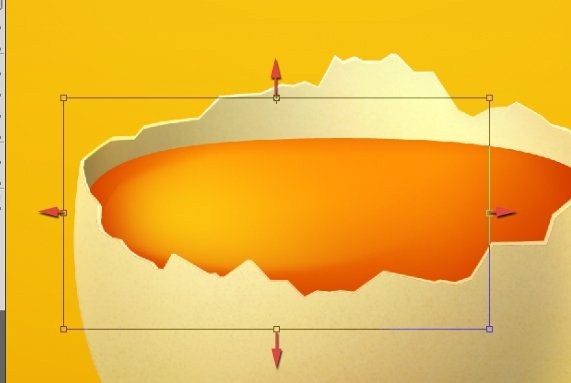
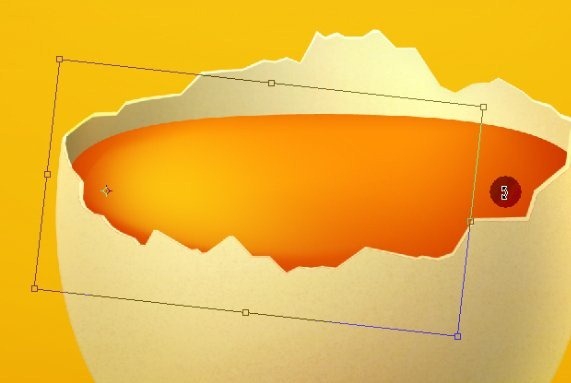
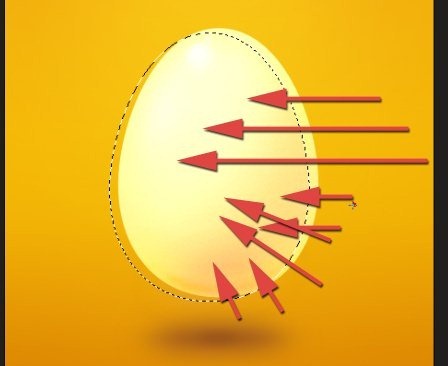
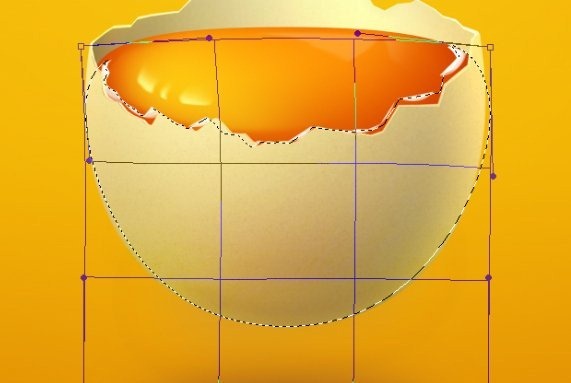
Go to Edit > Transform >> Warp and try to shape a surface as I did. The beginning of the arrow indicates my handling point. Then follow your movement with an arrow direction. Sometimes I am dragging whole surface (click in the middle of square), sometimes just single points. You will see what I am doing. Just follow my steps:
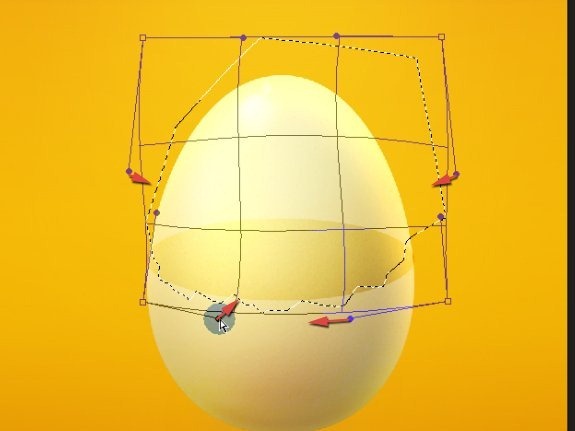
Step 11
Actually it is pretty bad behavior, but we can just press [Delete.jpg"> and we will get rid of unneeded part of eggshell. In most cases you should use mask. I am sure of my steps so I am not doing so. With a deletion it is easier to modify a layer.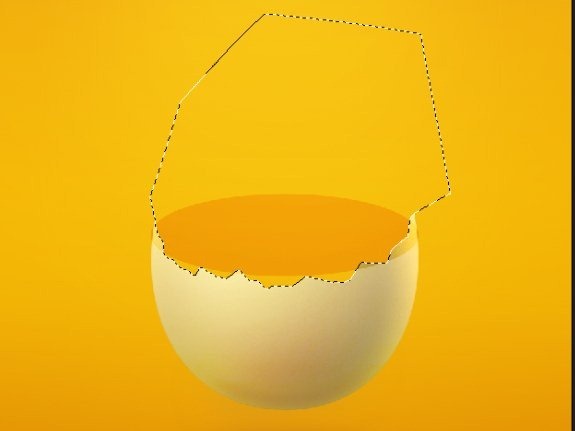
Step 12
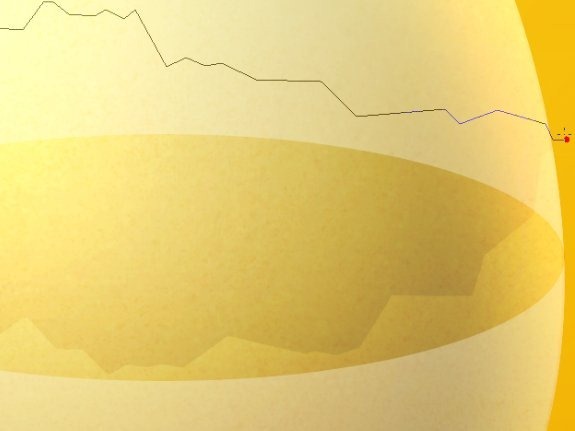
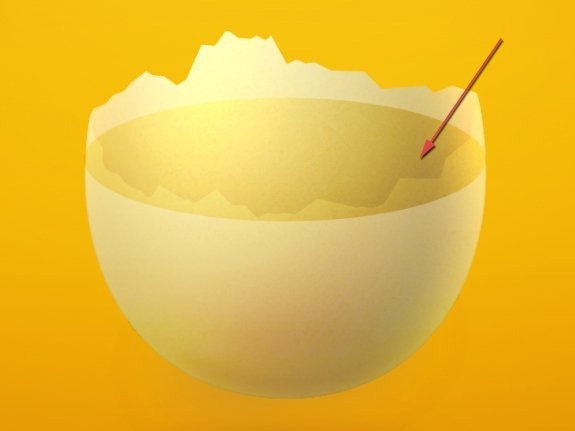
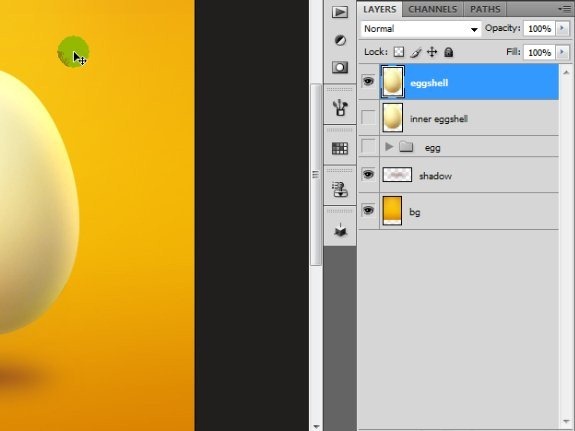
Now make visible our layer named inner eggshell (which is a second copy of egg’s layer) and go to Image > Adjustments > Brightness/Contrast. Then change the value of Brightness to -9. Our layers are imposed and we want to see some difference between them.As you can see we have to move our primary yolk a bit down.
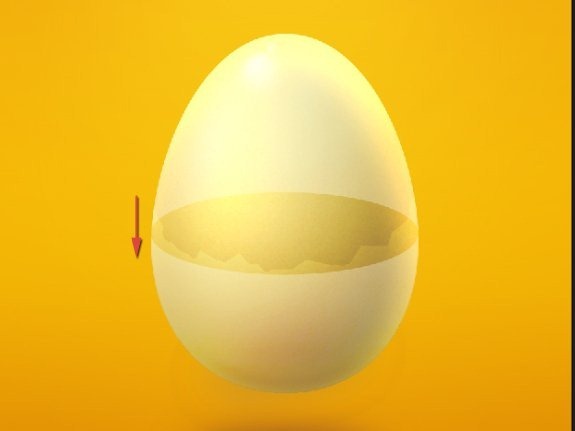
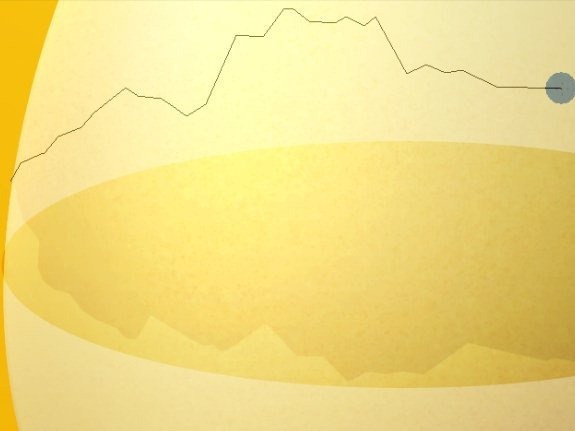
Step 13
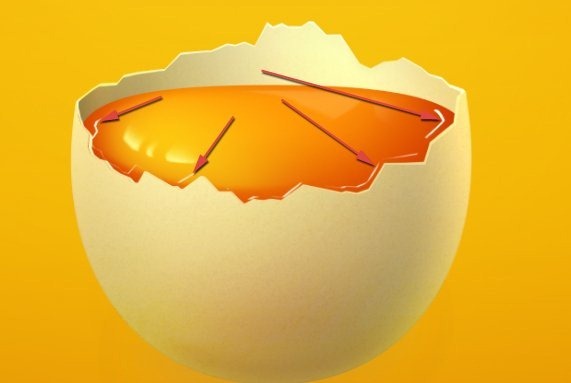
While you have inner eggshell layer selected, go to Edit > Transform >> Warp. Again, the beginning of the arrow is a handling point and the direction indicates the direction itself. Don’t look on the width of each arrow.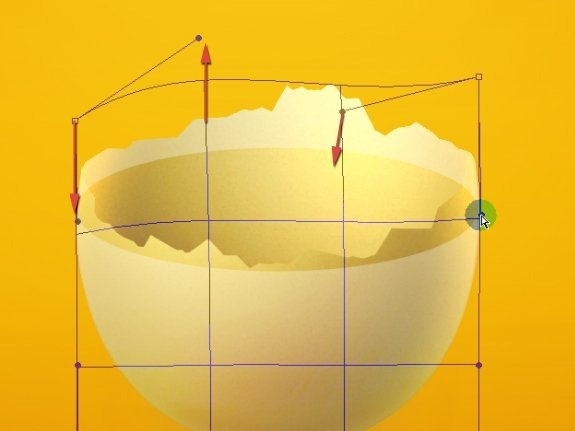
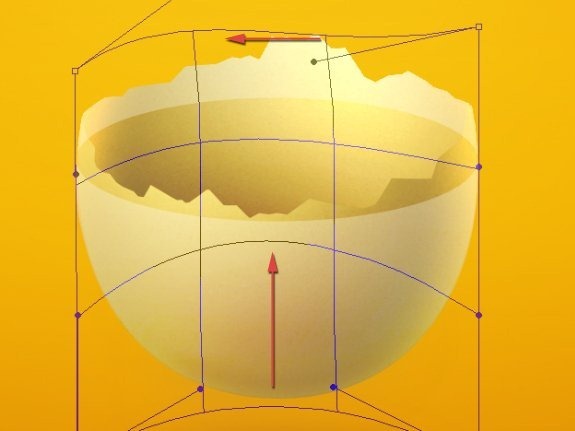
Step 14
Create new clipping layer to the inner eggshell.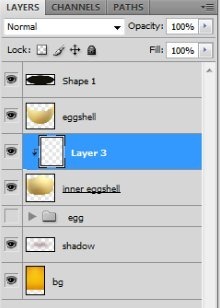
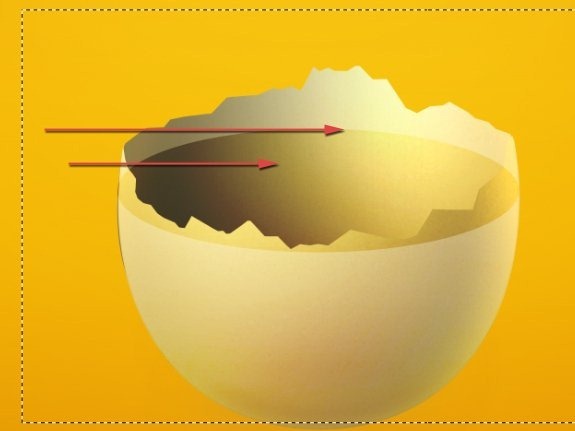
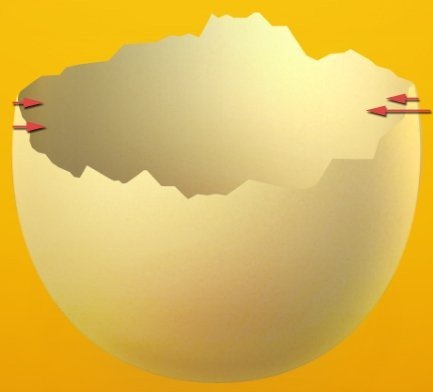
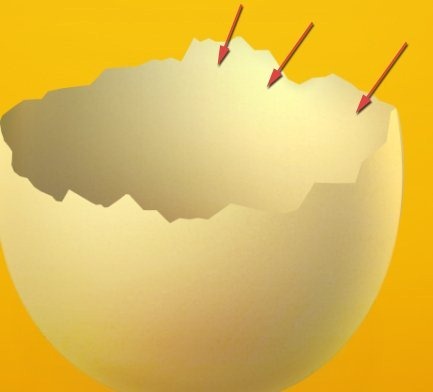
You can try to play with gradients even more by adding some more of them. Try to achieve a deep/sphere effect.
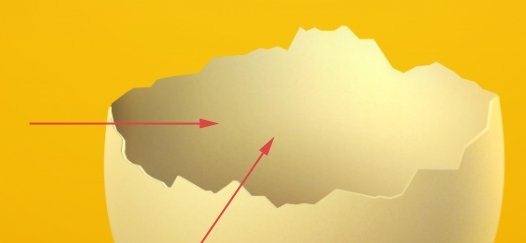
Step 15
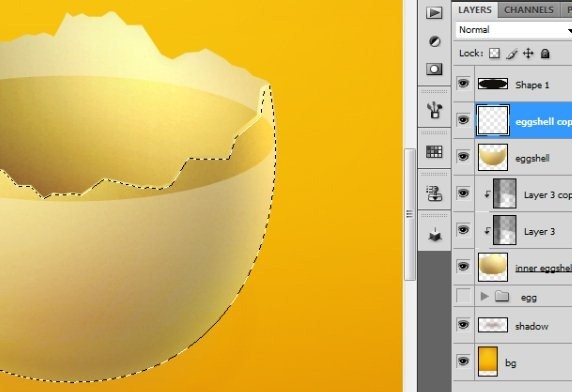
Now duplicate the eggshell layer: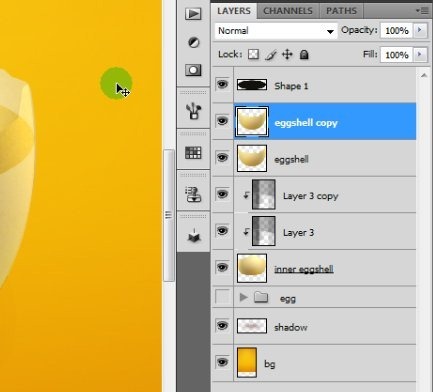
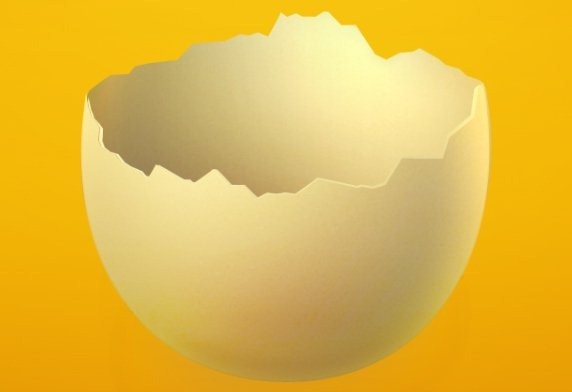
Go to Edit > Transform >> Warp and try to achieve some 3d look of the edge.
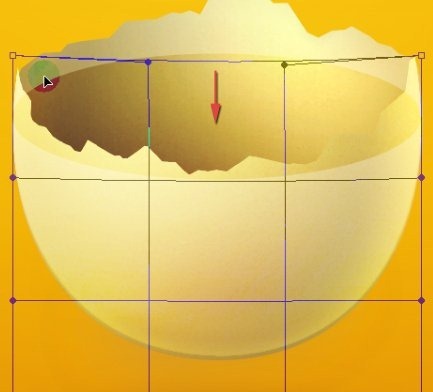
Step 16
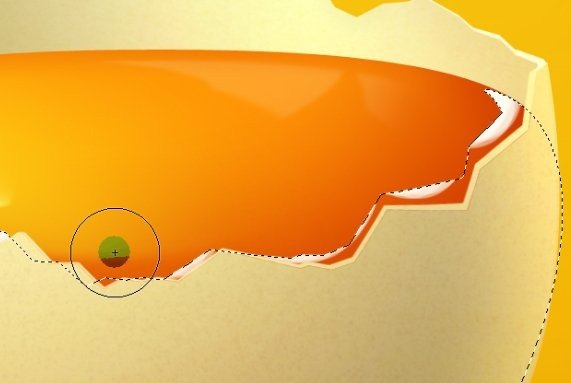
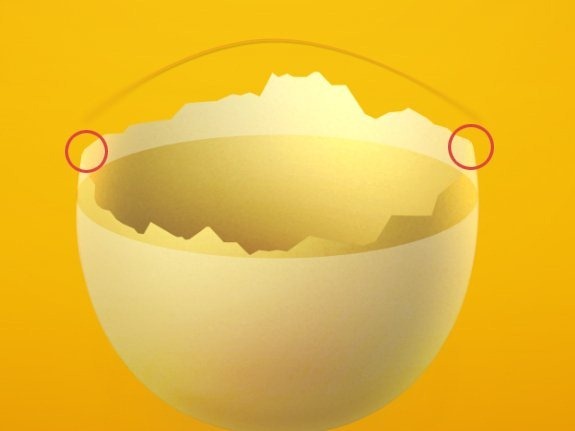
Some of the edges needs little fixes. Zoom in your image and look for details to repair, like one below: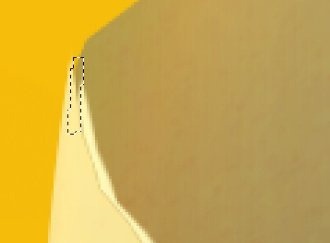

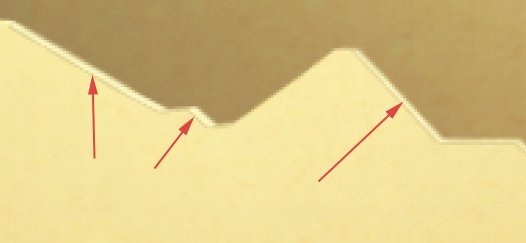

Step 17
This is the last step of creating egg. We had to make an edge on the inner eggshell layer. So, make a selection from inner eggshell ([ctrl.jpg"> + [click.jpg"> on a thumbnail) and go to Edit > Transform >> Warp. I won’t show you the steps of movement, just try to figure them out by yourselves. You have seen previous workouts. Here is a final transformation: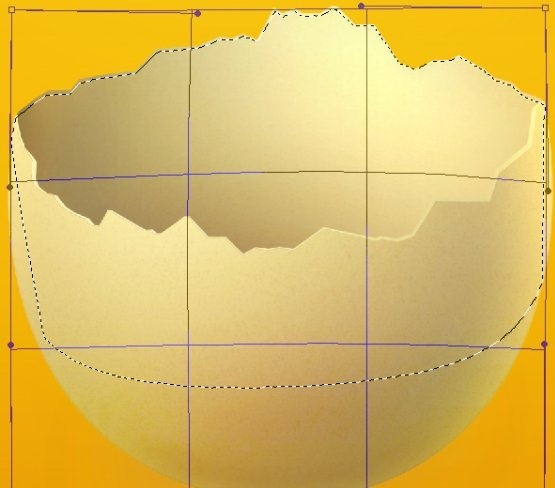
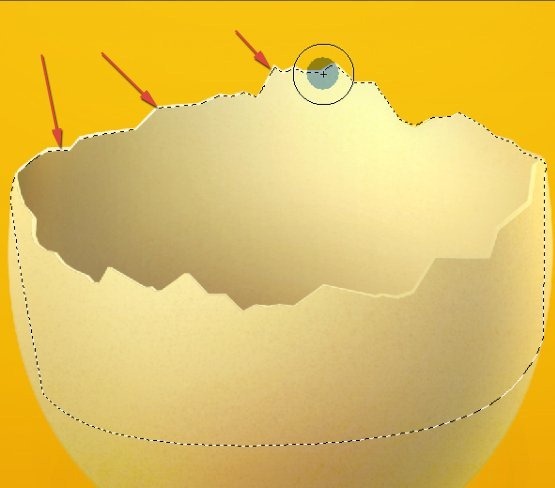
Step 18
And here we go with yolk. Pick an Ellipse tool and create new layer between eggshell and inner eggshell.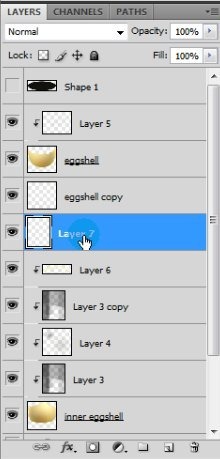
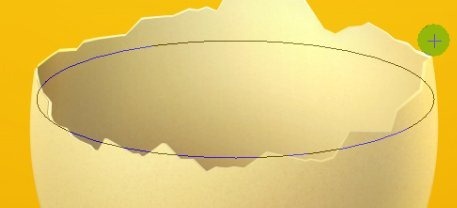
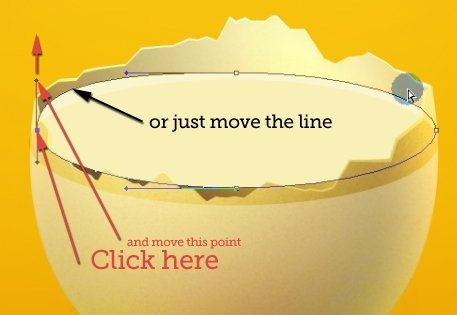
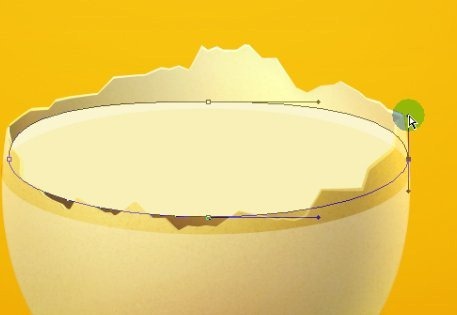
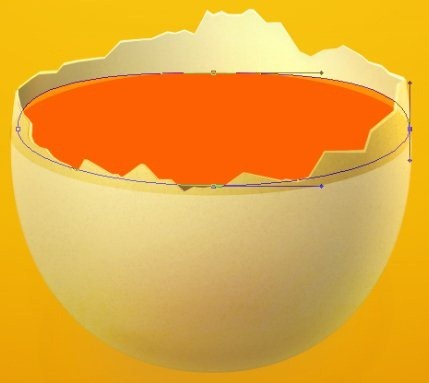
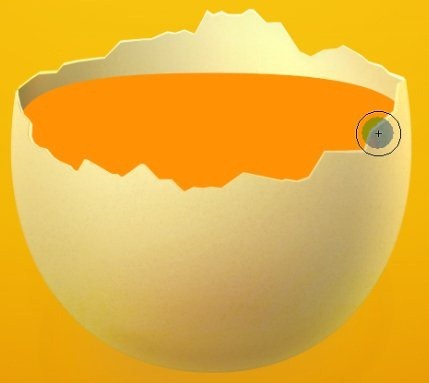
Step 19
The good think is to organize your lights on the surface.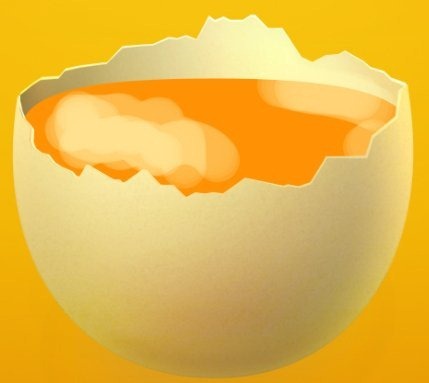
Grab some more reddish color like #913000 and use gradient tool (could be linear with 30% opacity) to make some shadows around the shape.
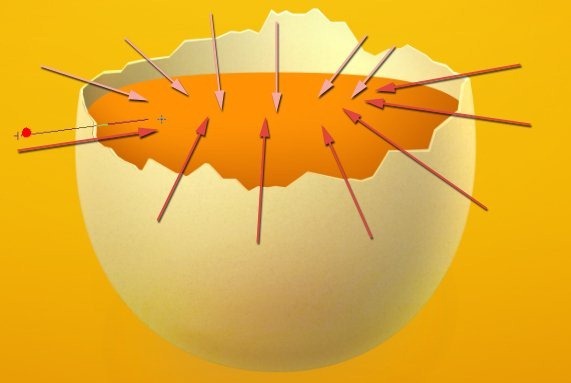
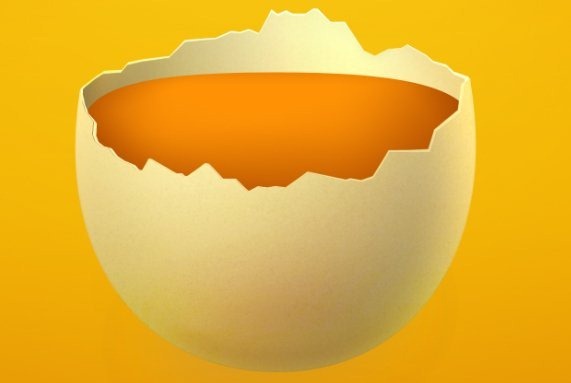
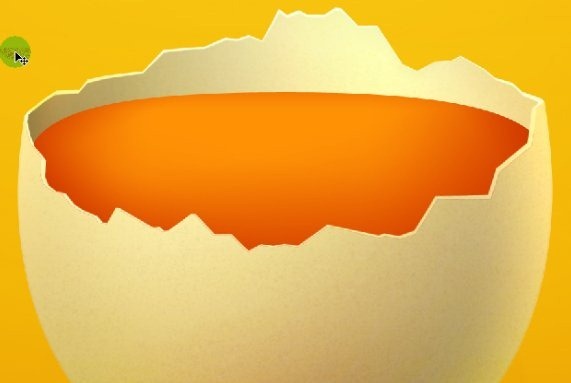
Step 20
Get Elliptical marquee tool and make some selection in the sphere of yolk (remember about new layer into clipping mask).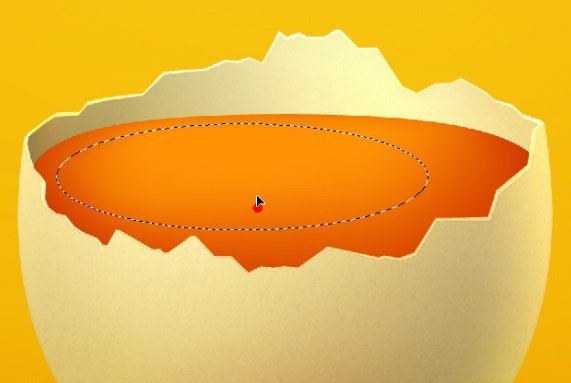
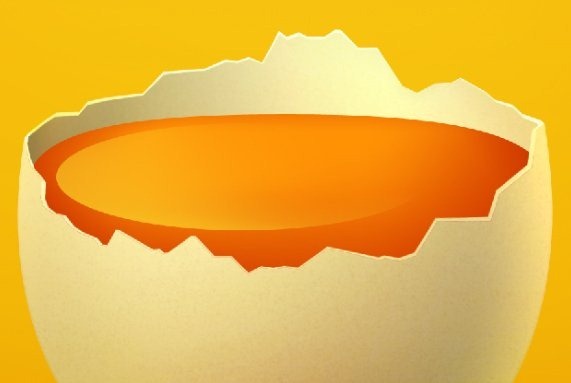
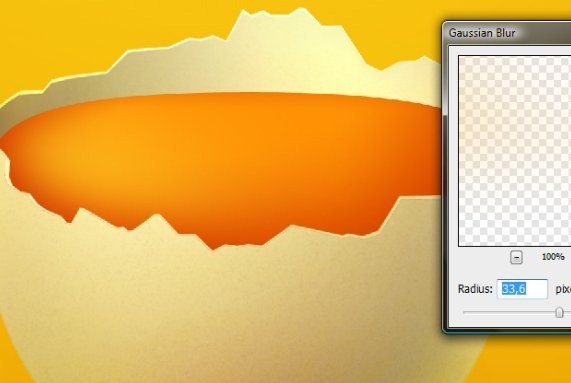
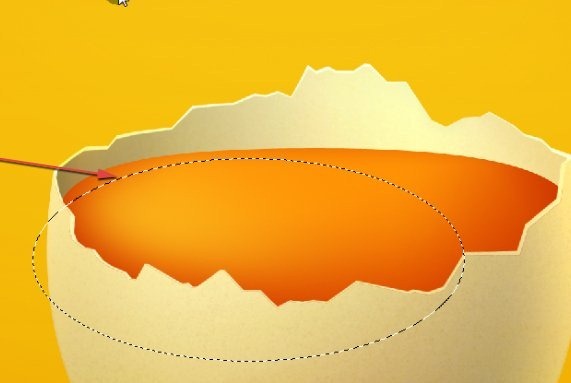
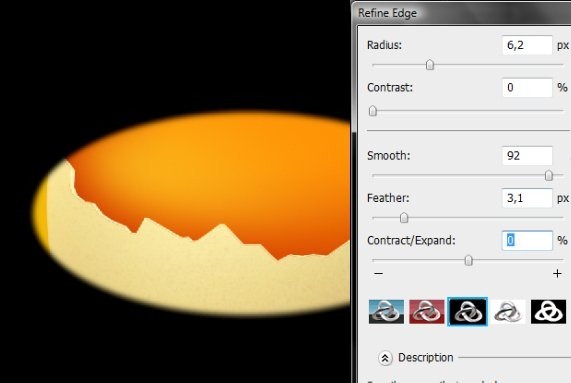
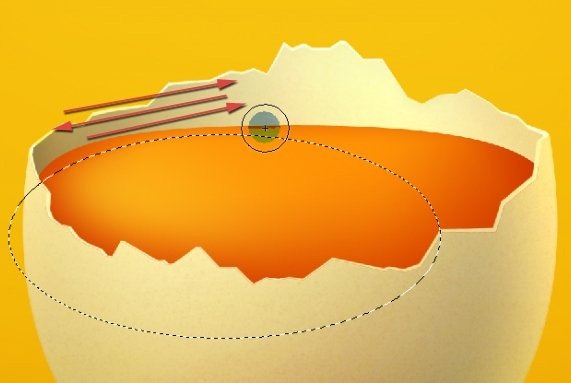
Step 21
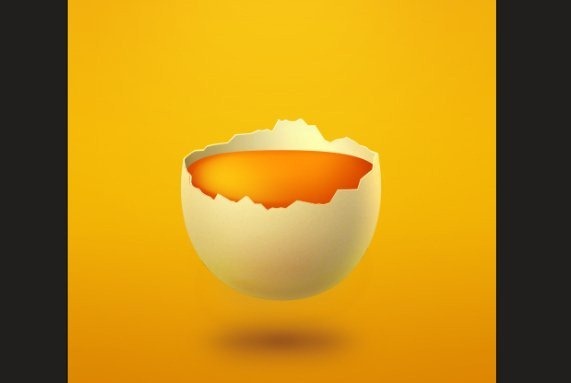
Duplicate the layer and set the blending mode of copy to Overlay. Then select both layers in the layer’s window ([Ctrl.jpg"> + [Click.jpg"> on layer to select more than one) and go the Edit > Transform >> Rotate to make it fit to the overall yolk shape. You can also scale it a bit if it is too small or too large.
Step 22
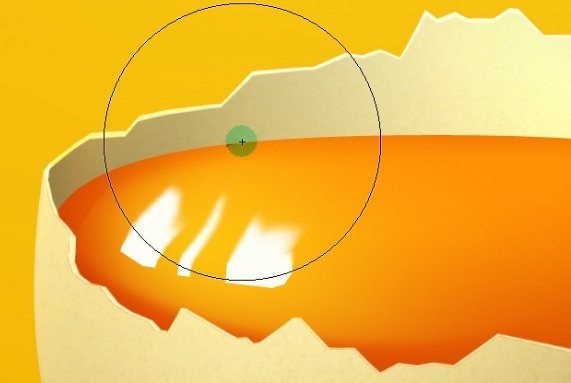
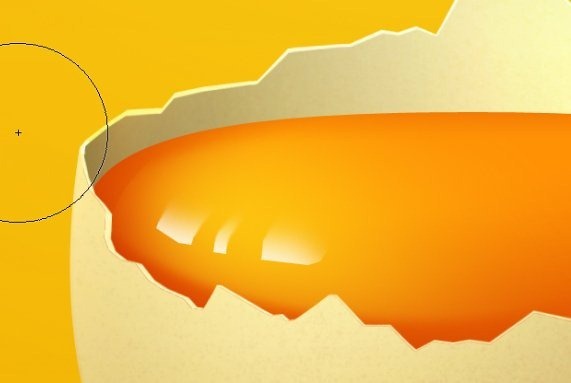
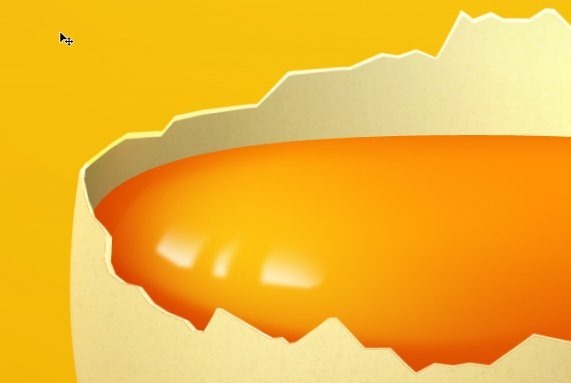
Make some random selection and fill it with white. This will be our strongest light reflection.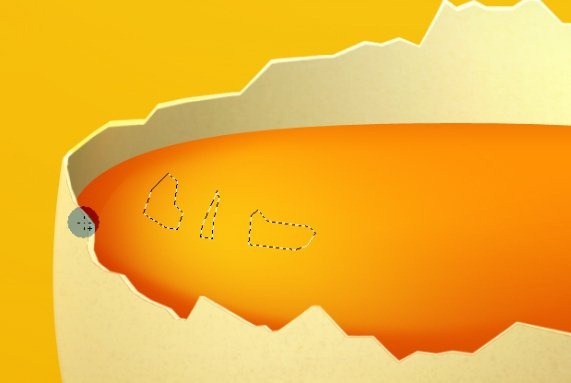
Step 23
We will make the same light reflection on the opposite side of the yolk. Start with selection.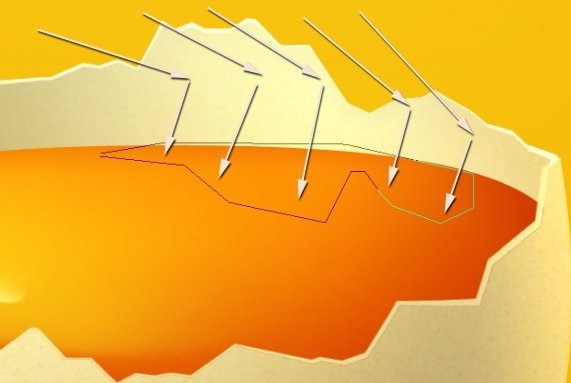


Step 24
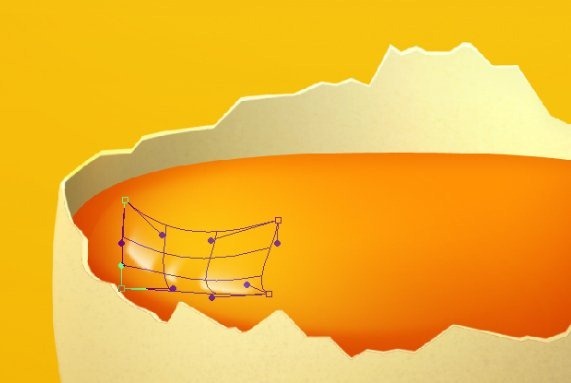
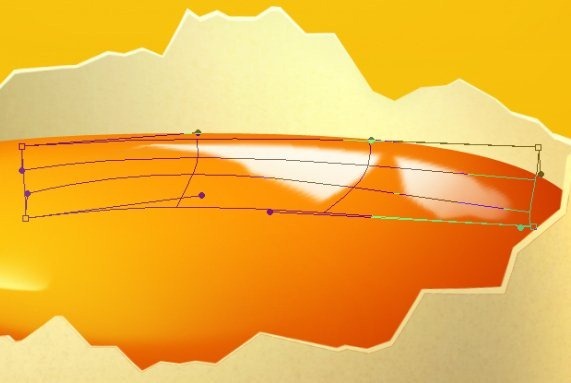
Here comes the last part- reflection of the eggshell edges. Make a clipping layer to the yolk. Do [Ctrl.jpg"> + [Click.jpg"> on the thumbnail of the eggshell layer so you will get a selection. Then go to the Select > Transform selection. Use a warp to modify a selection – Edit > Transform >> Warp. Try to get something like this: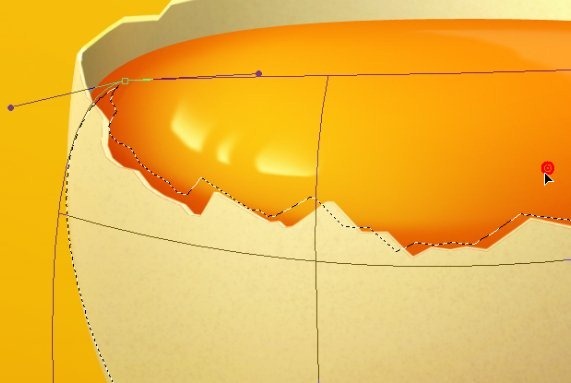
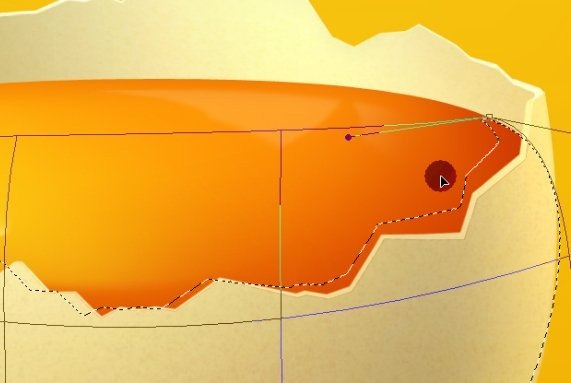
Step 25
Again go to Select > Transform selection and Edit > Transform >> Warp. Make something like this below. What we want to get are a soft lines from our paintings that will simulate reflections.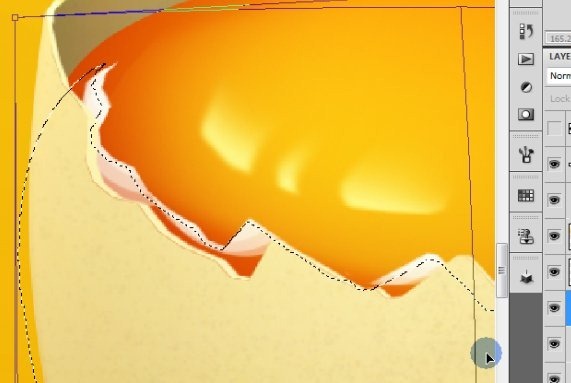
Blur it a bit, but really, just a little. Then change the blending mode to Color dodge with opacity 40-50%.
Final Results
Download the PSD
egg2.zip | 9 MB
sr:photoshoptutorials
![1[1] 1[1]](http://photoshoptutorials.ws/images/stories/e222ed41d2aa_385/11_3.jpg)
No comments:
Post a Comment